Last year, a friend sent me the sweetest message, reaching out to me about a commission. She was hoping for a Lord of the Rings - Eye of Sauron costume. Of course, I said yes! Despite never watching Lord of the Rings, having no idea who the eye of Sauron was, or how I was going to make this happen.
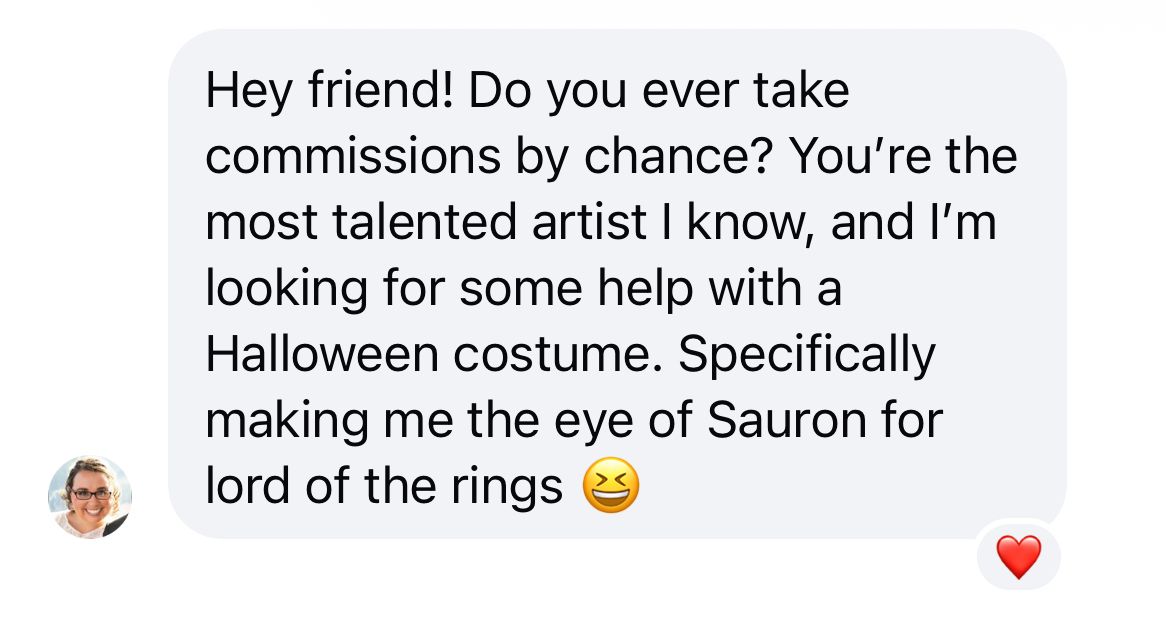
I didn’t really know what I was doing, but that's always been a part of my creative process. I felt grateful for the opportunity to try something new.
Now the question was..could I pull this off in time for her Halloween Party?!
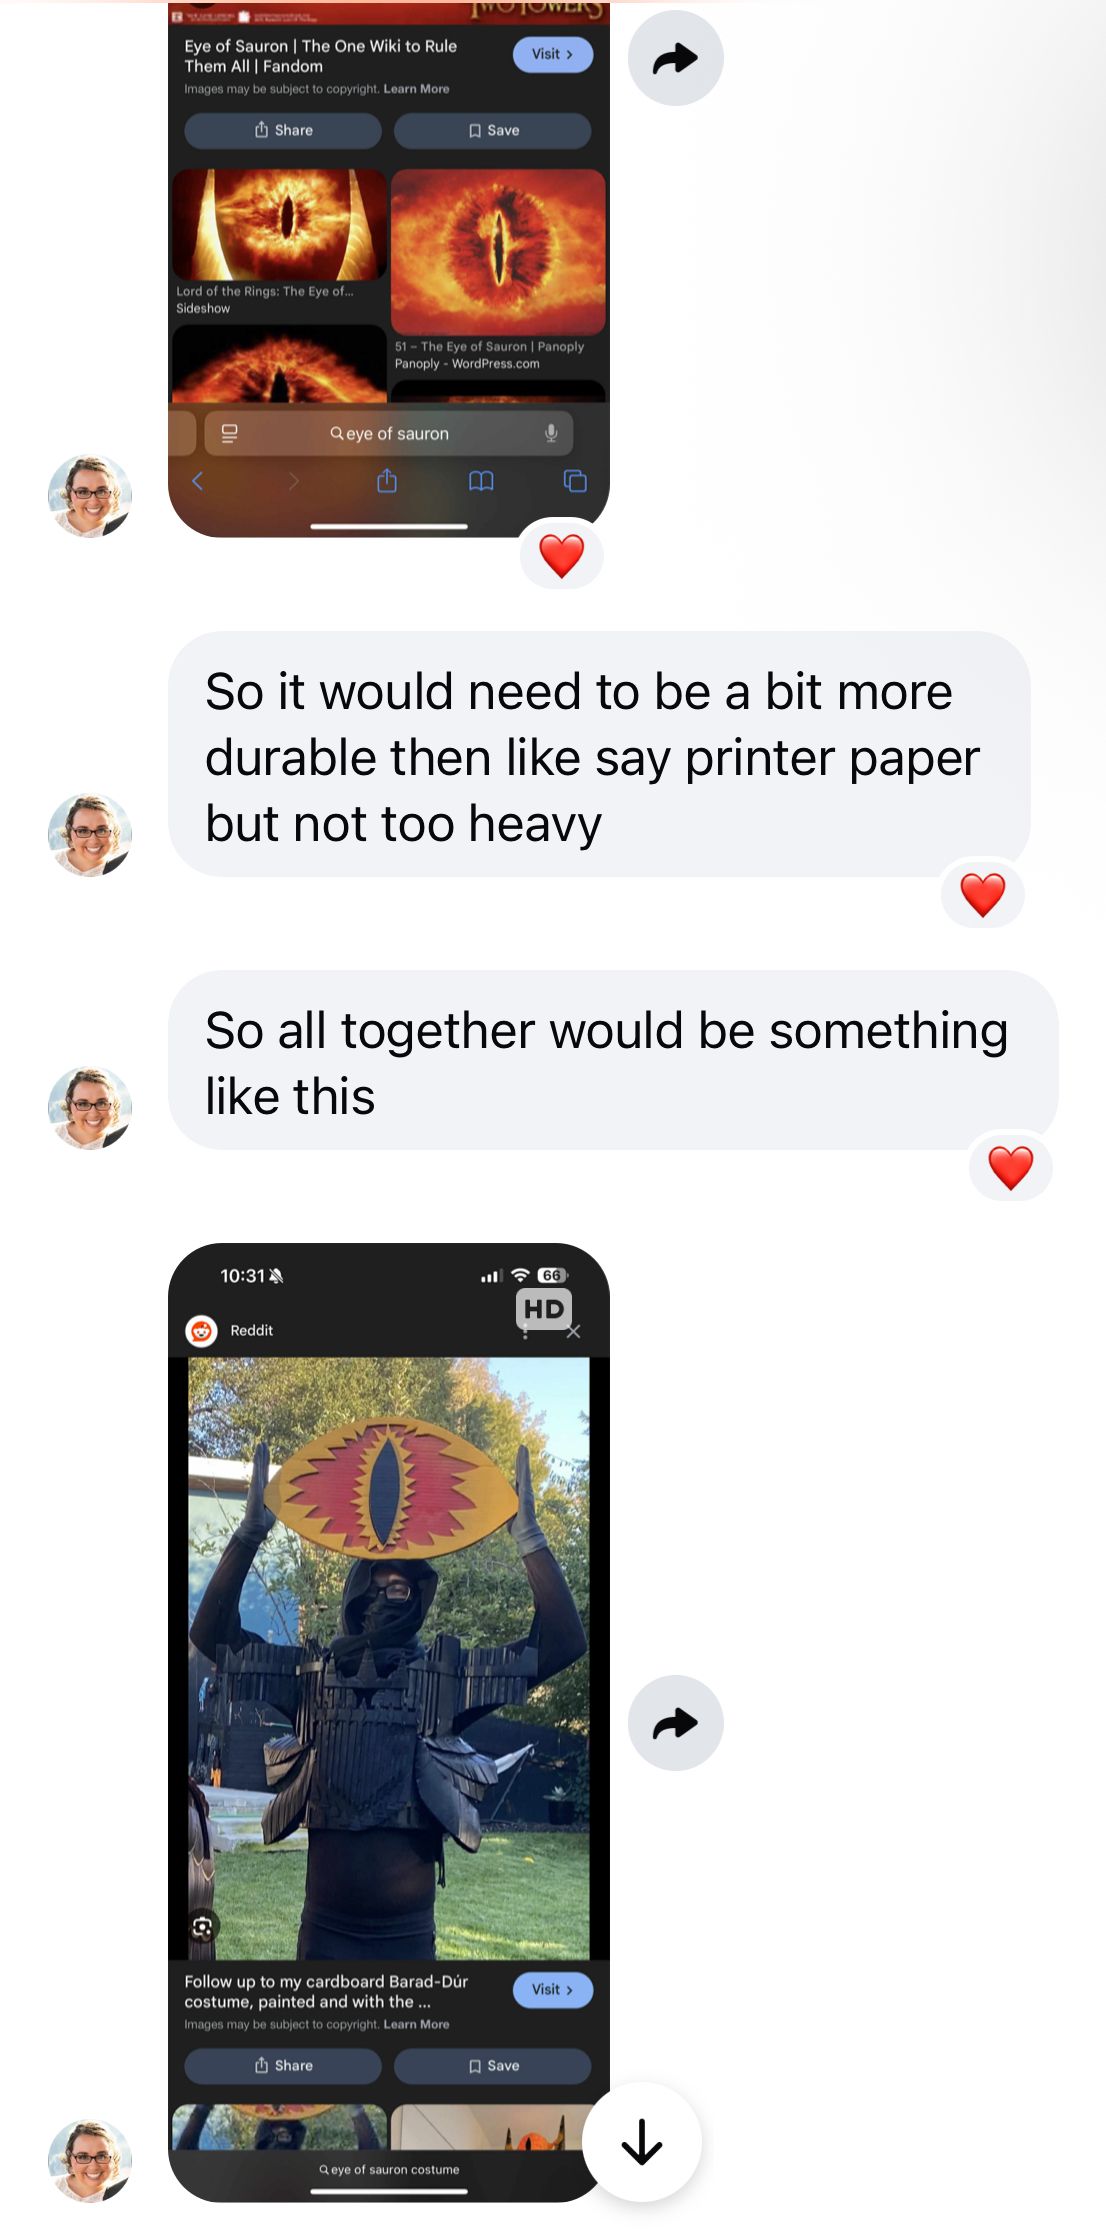
We sent a few more messages for clarity, I looked up what the Eye of Sauron was for inspiration,
and then it was time to start experimenting.
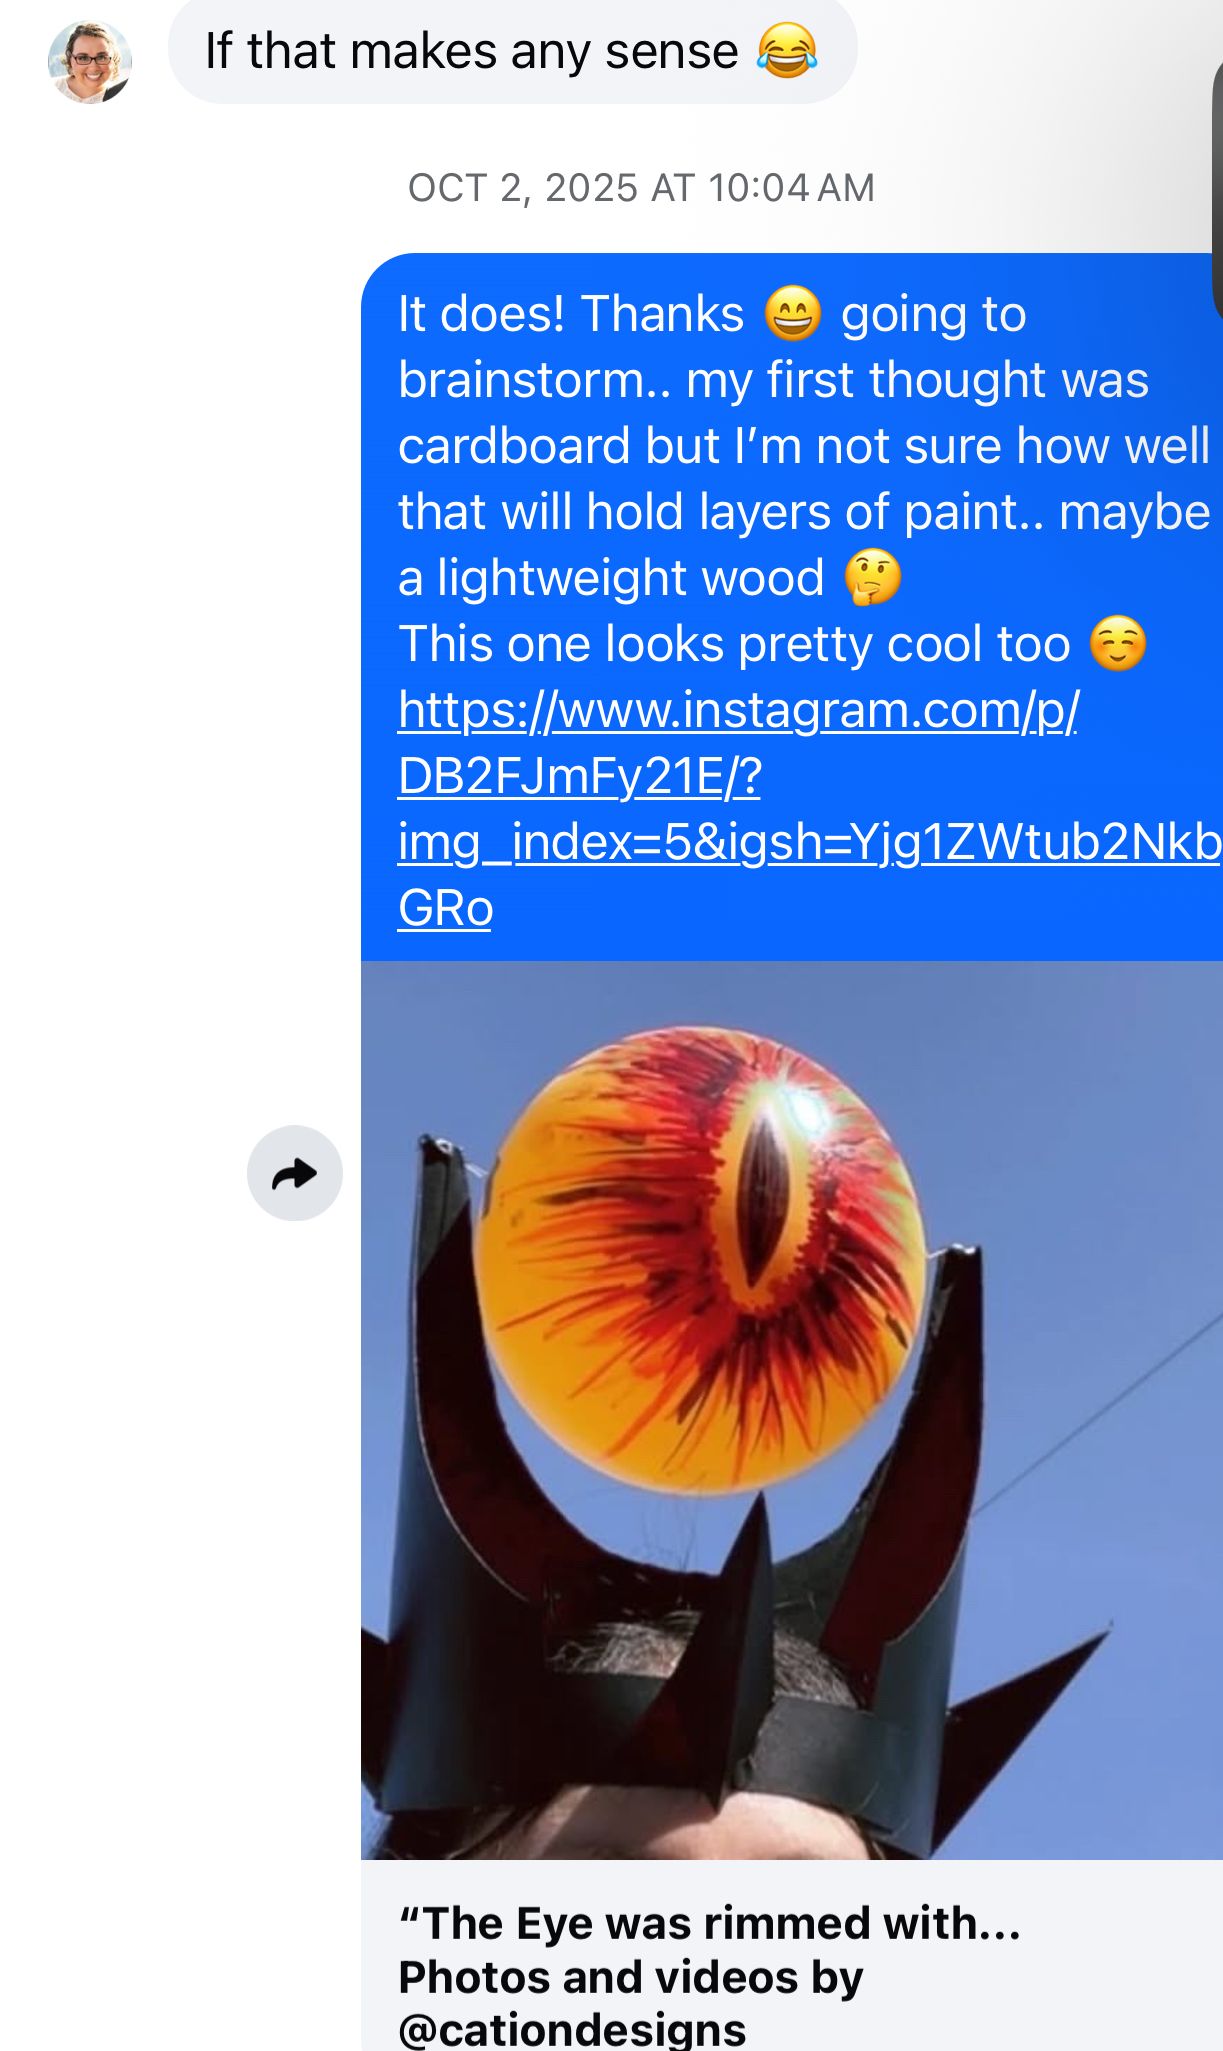
Starting With the Crown
The first thing I decided to tackle was the crown.
I knew I wanted it to be lightweight, dramatic, and have those tall, sharp shapes that would frame the eye. I decided to work with EVA foam
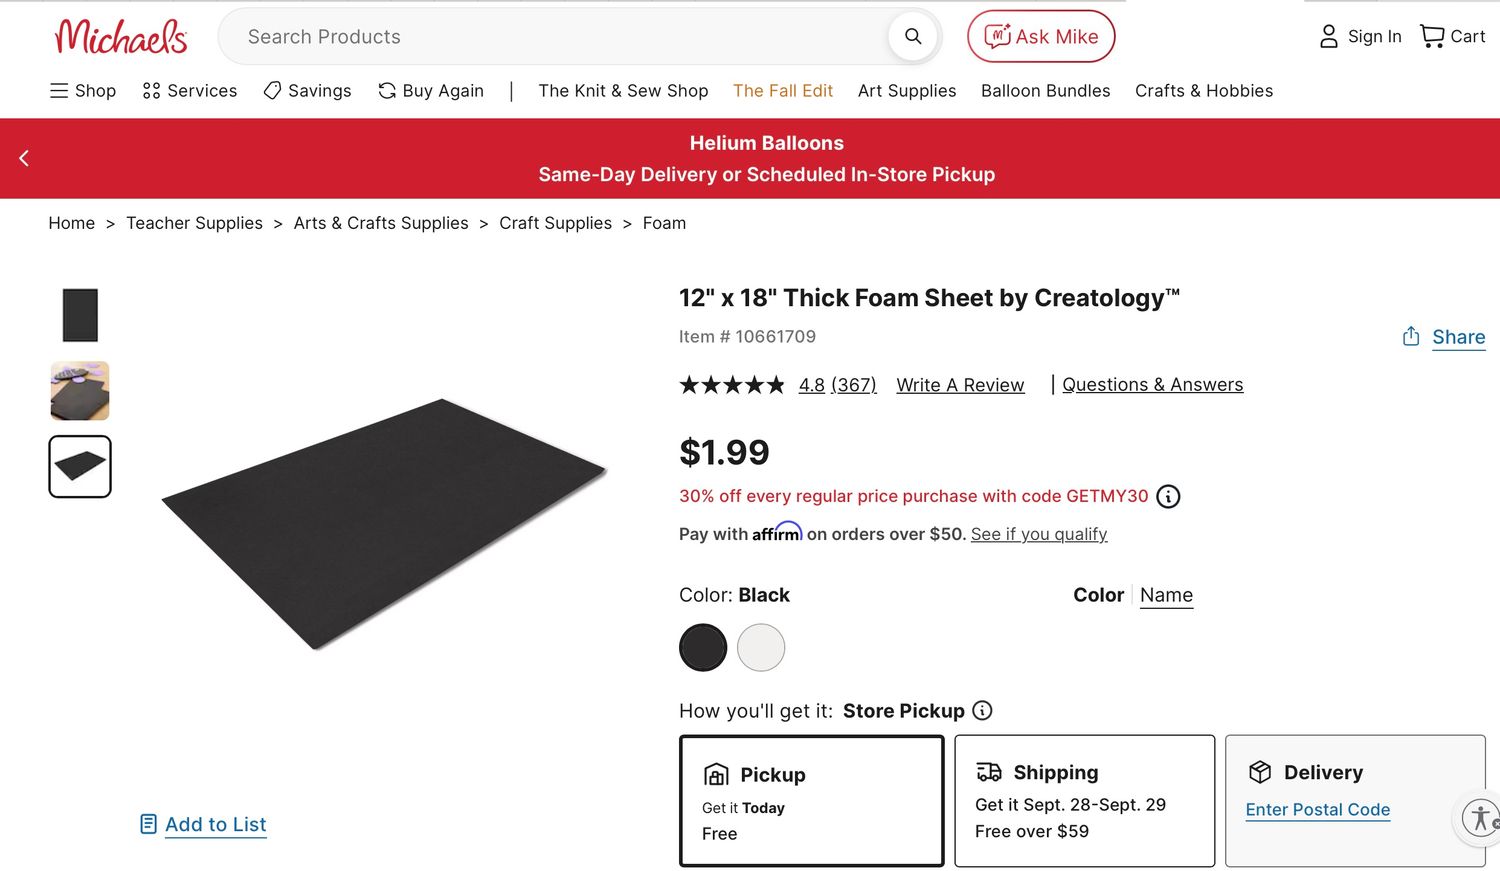
to create the basic shape, after seeing that this was the most popular material for cosplay costumes.
Then off to Michaels I went, to buy some sheets of EVA foam (and whatever else I could find).
There was just one little problem..
I had to figure out how to make it fit her head without actually having her there to try it on.
I remember cutting and shaping the foam and then staring at the back of the crown thinking,
Okay… how am I supposed to make this adjustable?
Eventually, I decided to treat it a little like a shoe.
I poked a series of holes along the open back of the crown and used some yarn that I had available,
to criss-cross through the holes.
Basically, I made myself a giant black foam shoelace.
And it worked!
The lacing allowed the crown to expand and contract, giving me the confidence that it would fit her.
Once I knew it worked, I found some black yarn from a Buy Nothing group.
That was my first little win of the project.
The Shiny Black Shards
While I was shopping for the foam material, I found something else at Michaels:
a container of these little black, shiny, glass-like shards.
They were on clearance, and honestly, I didn’t even know what I was going to do with them.
But they were interesting, so I added them to my cart.
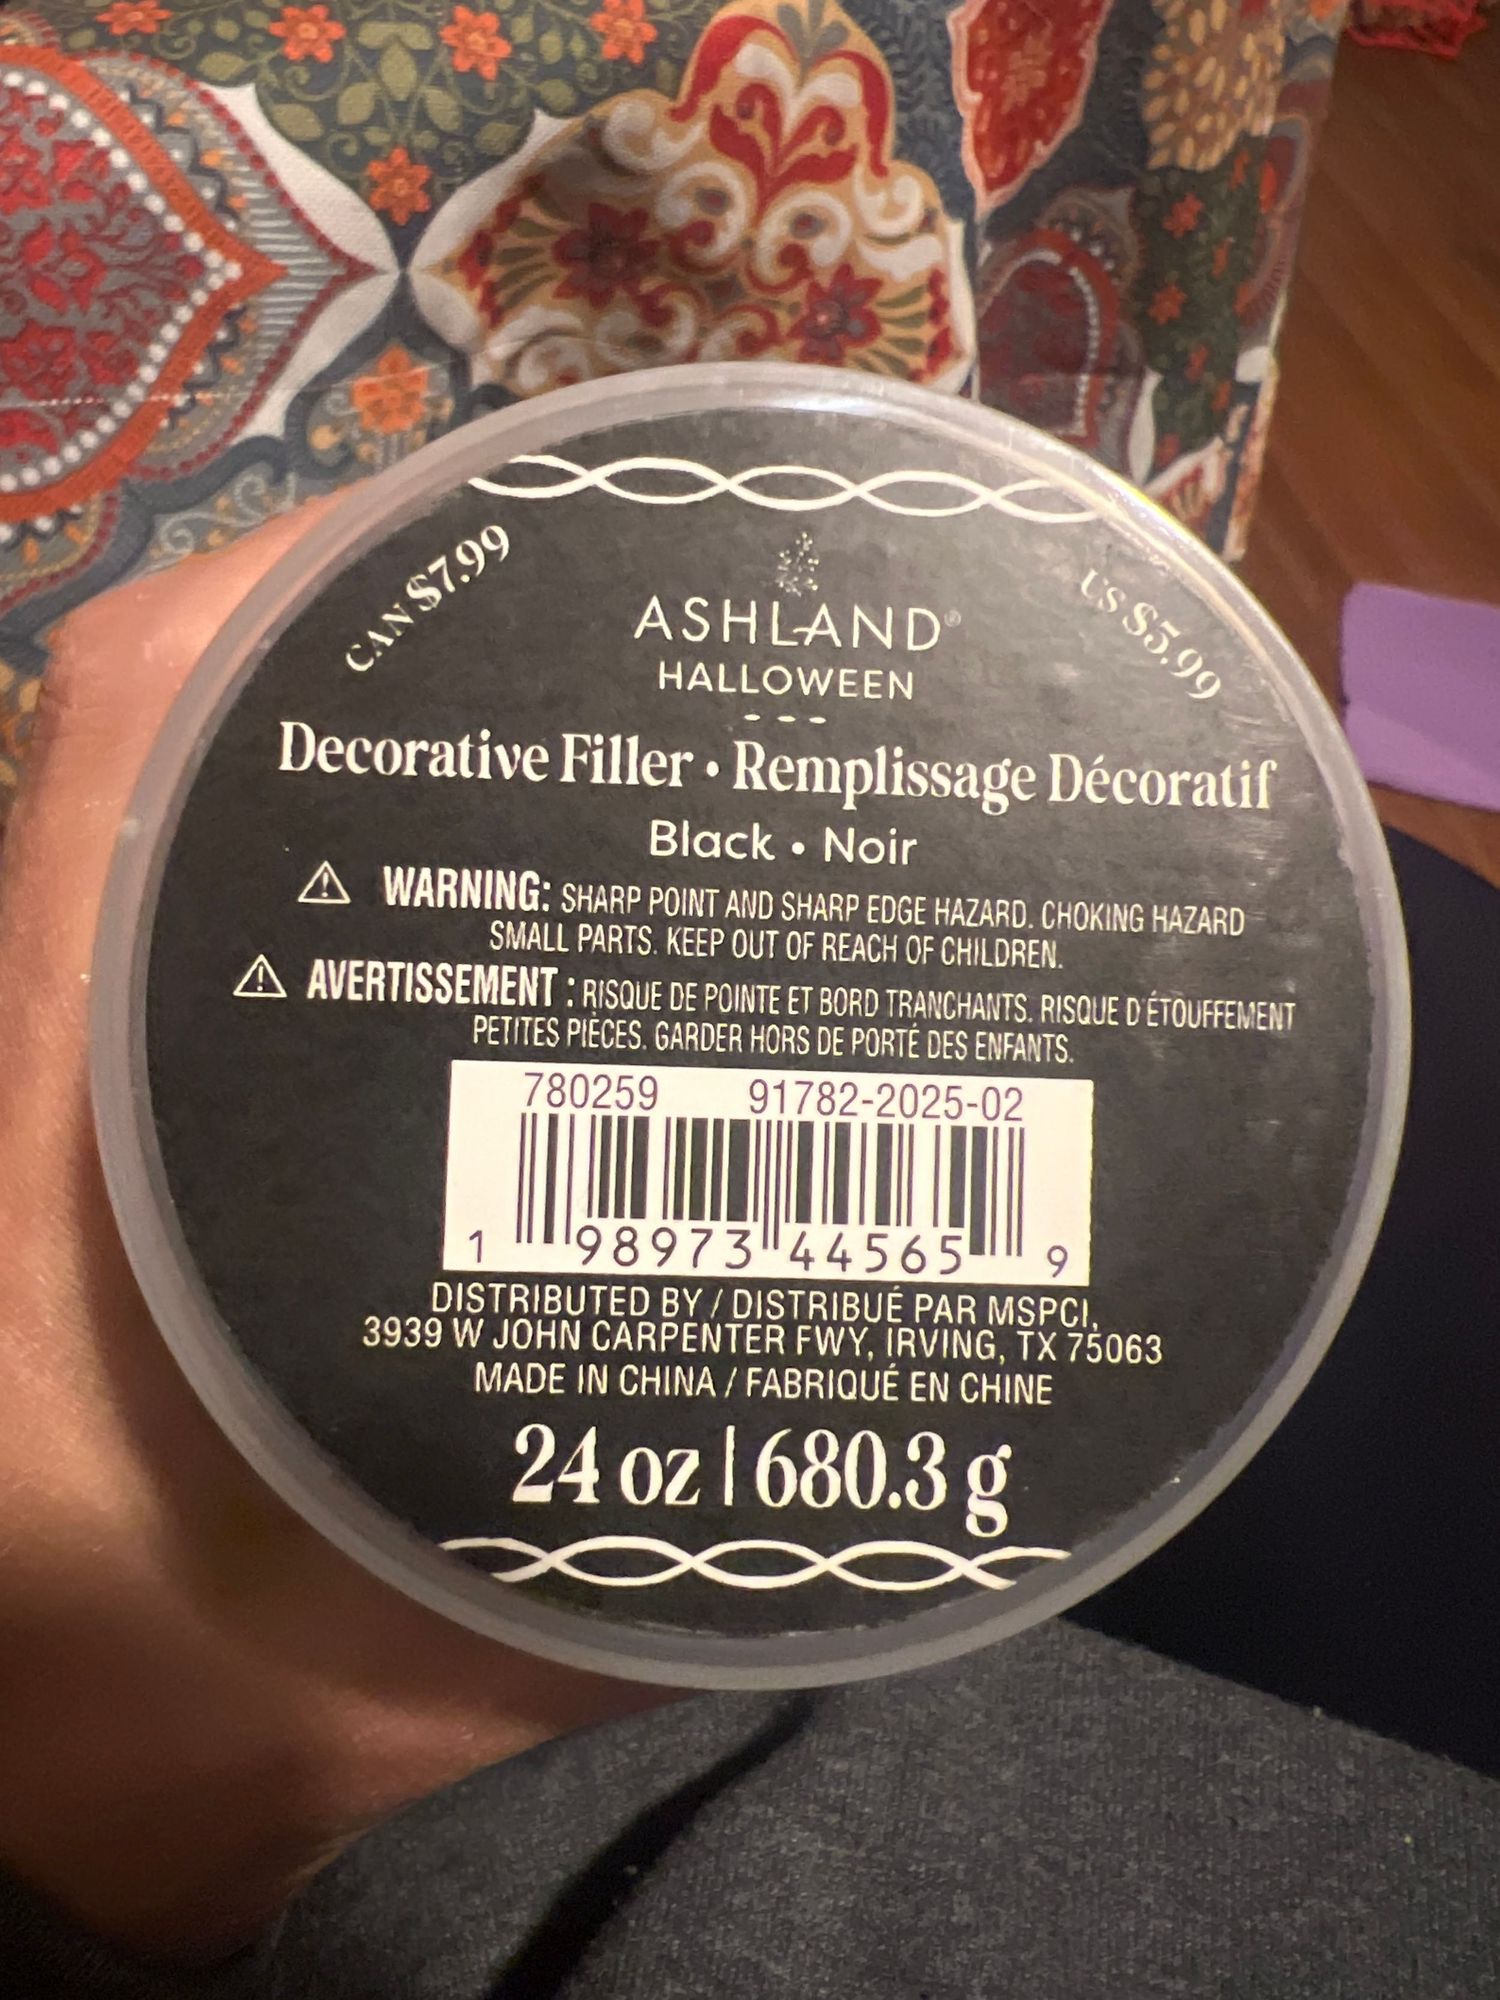
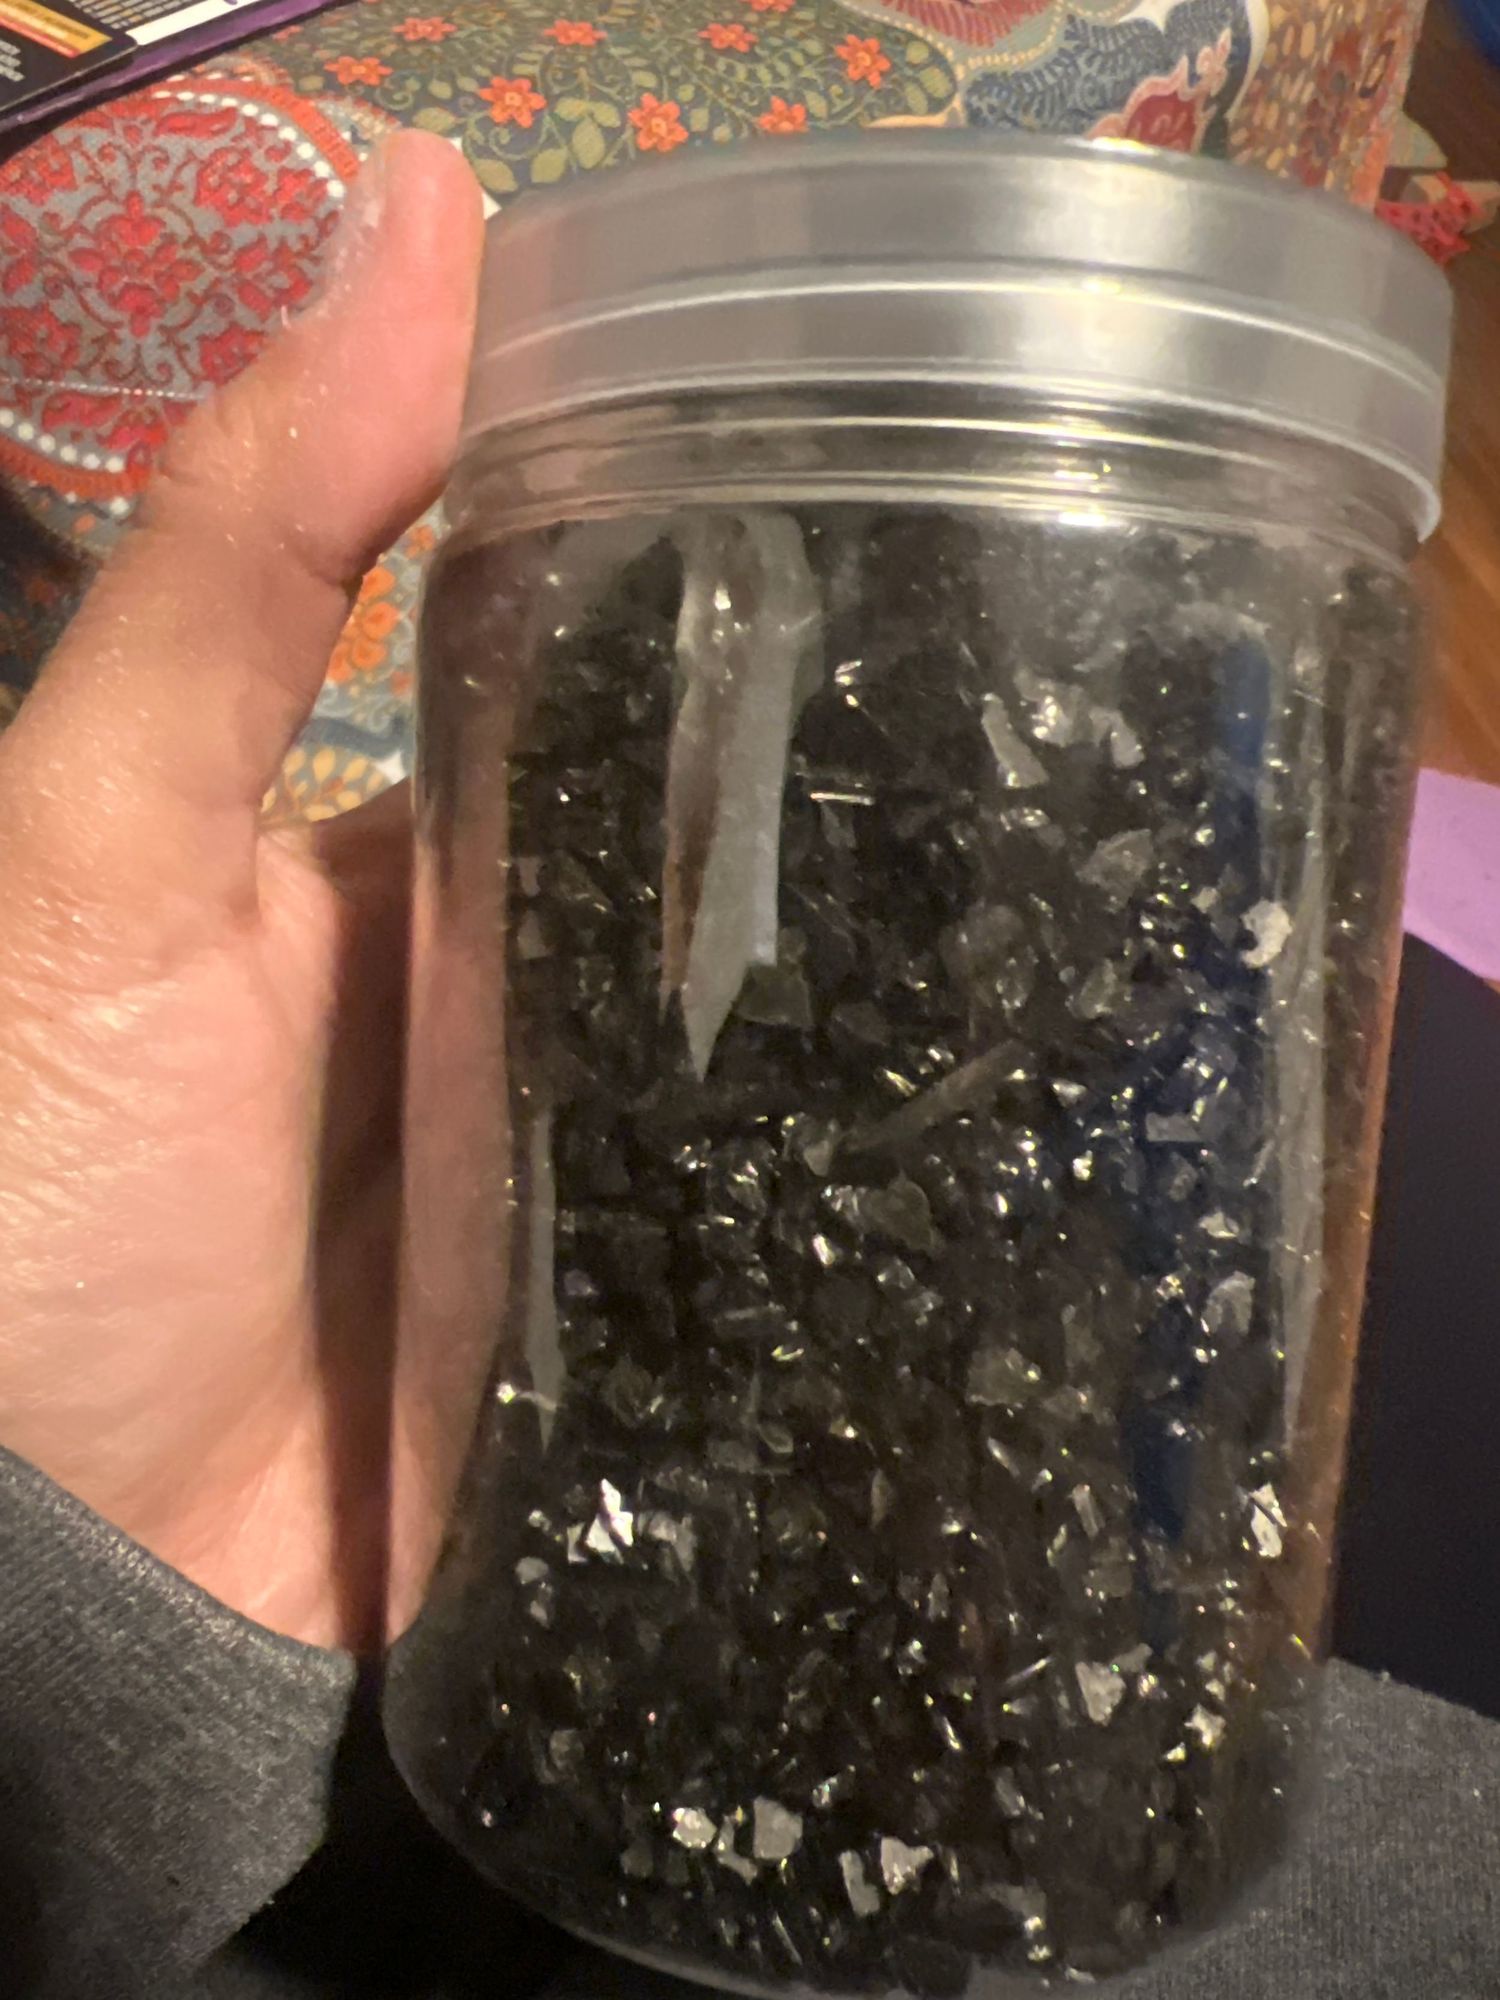
Sometimes it's not necessary to see the full picture..
But when the inspiration calls, I listen.
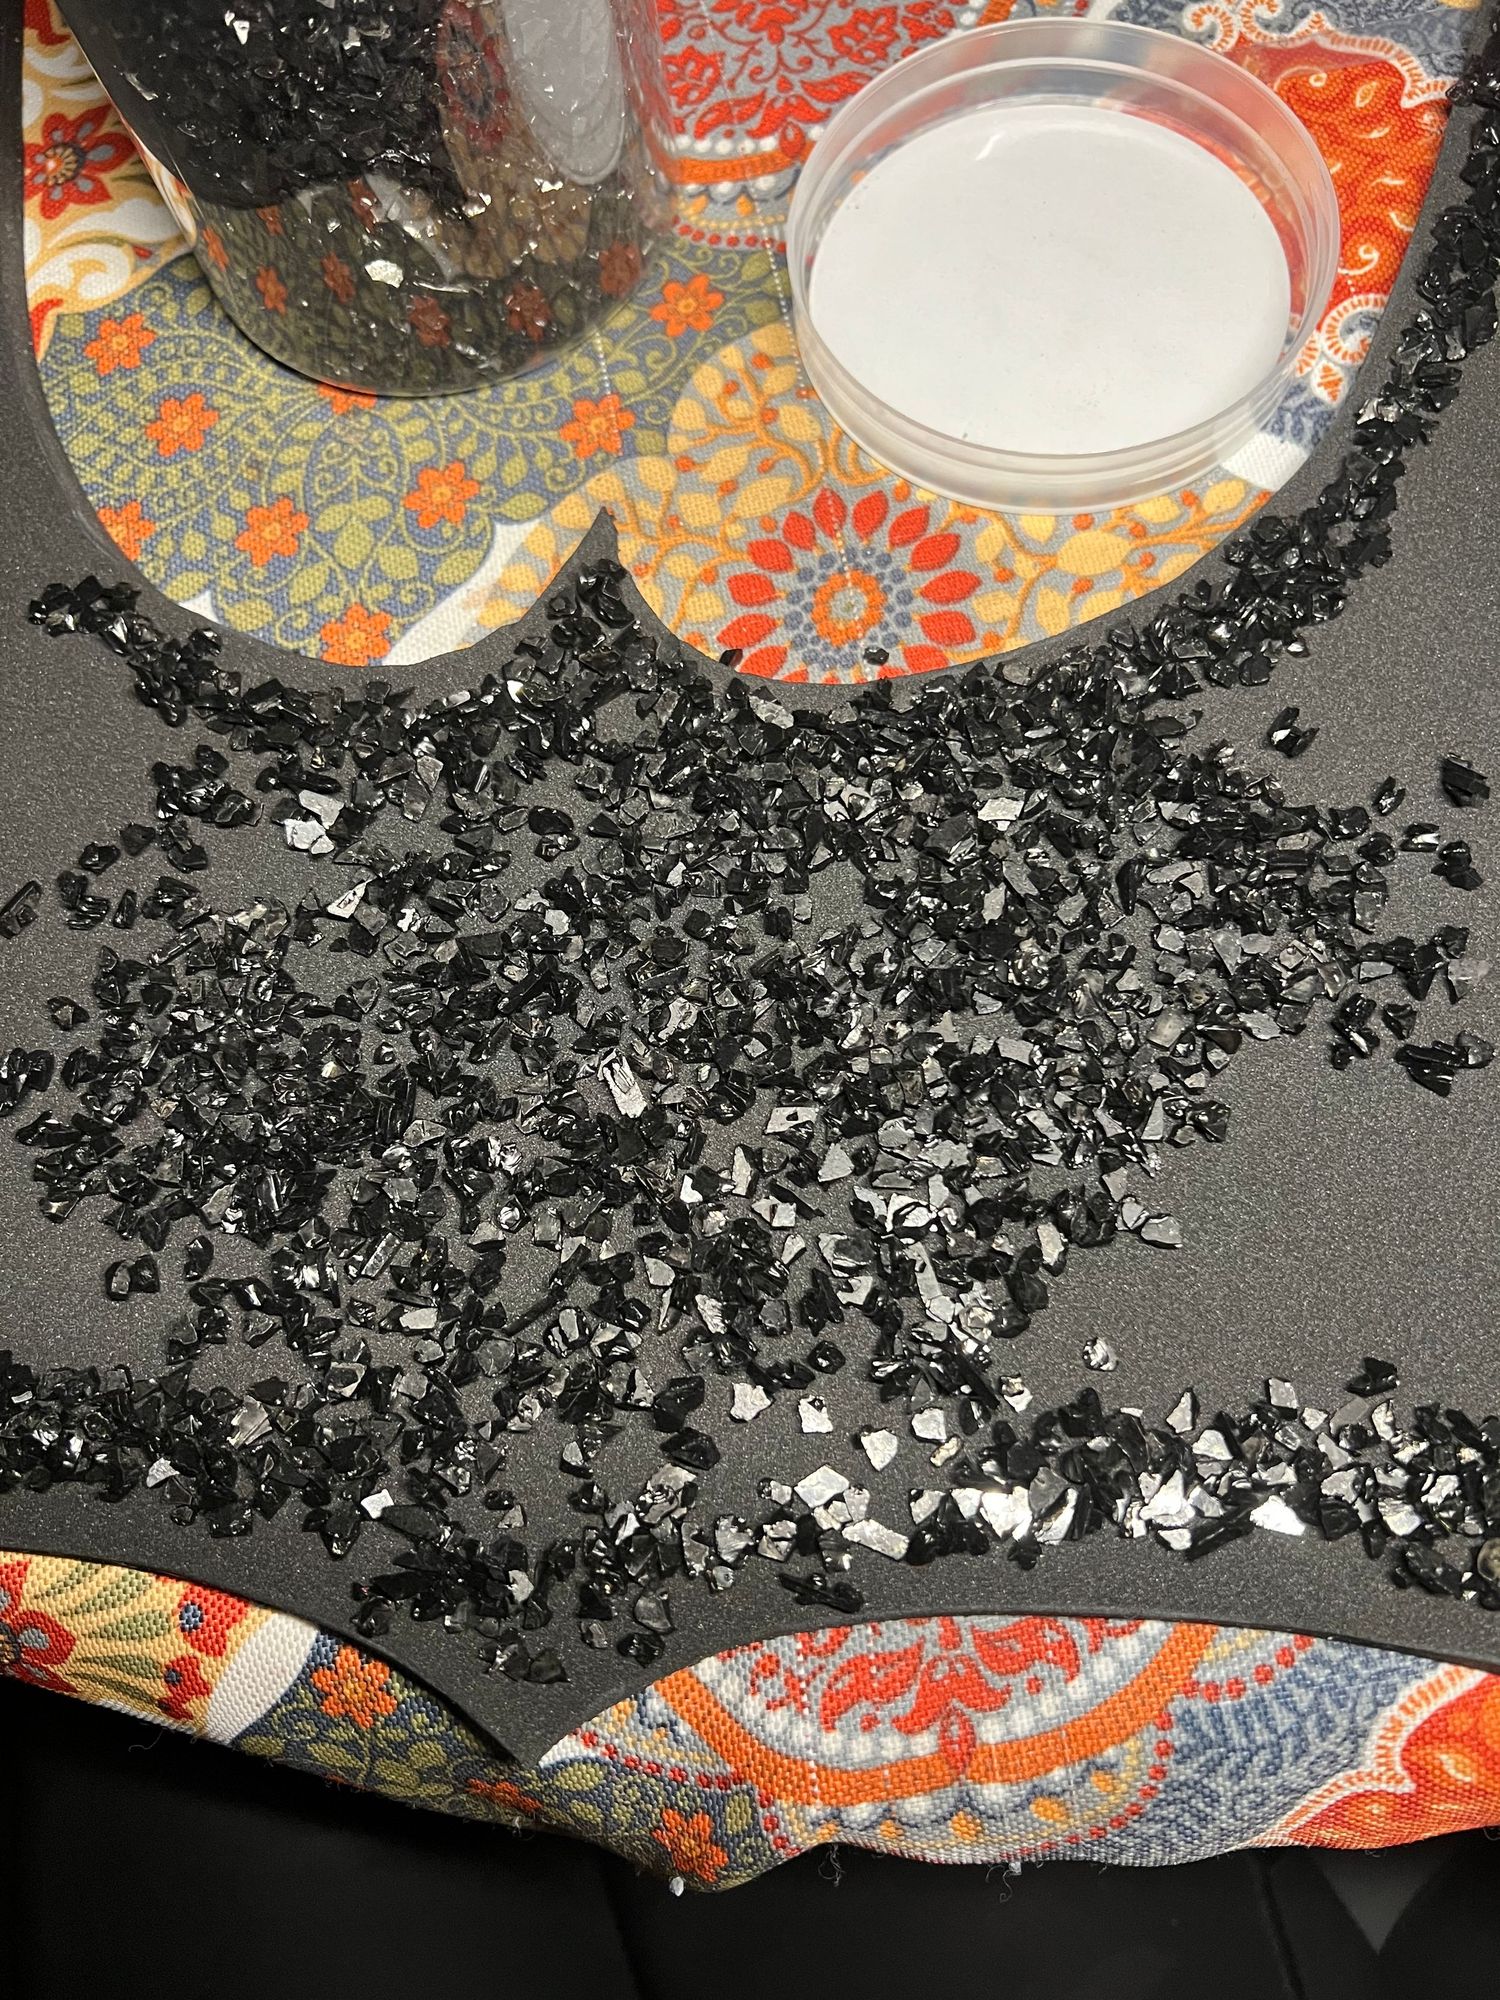
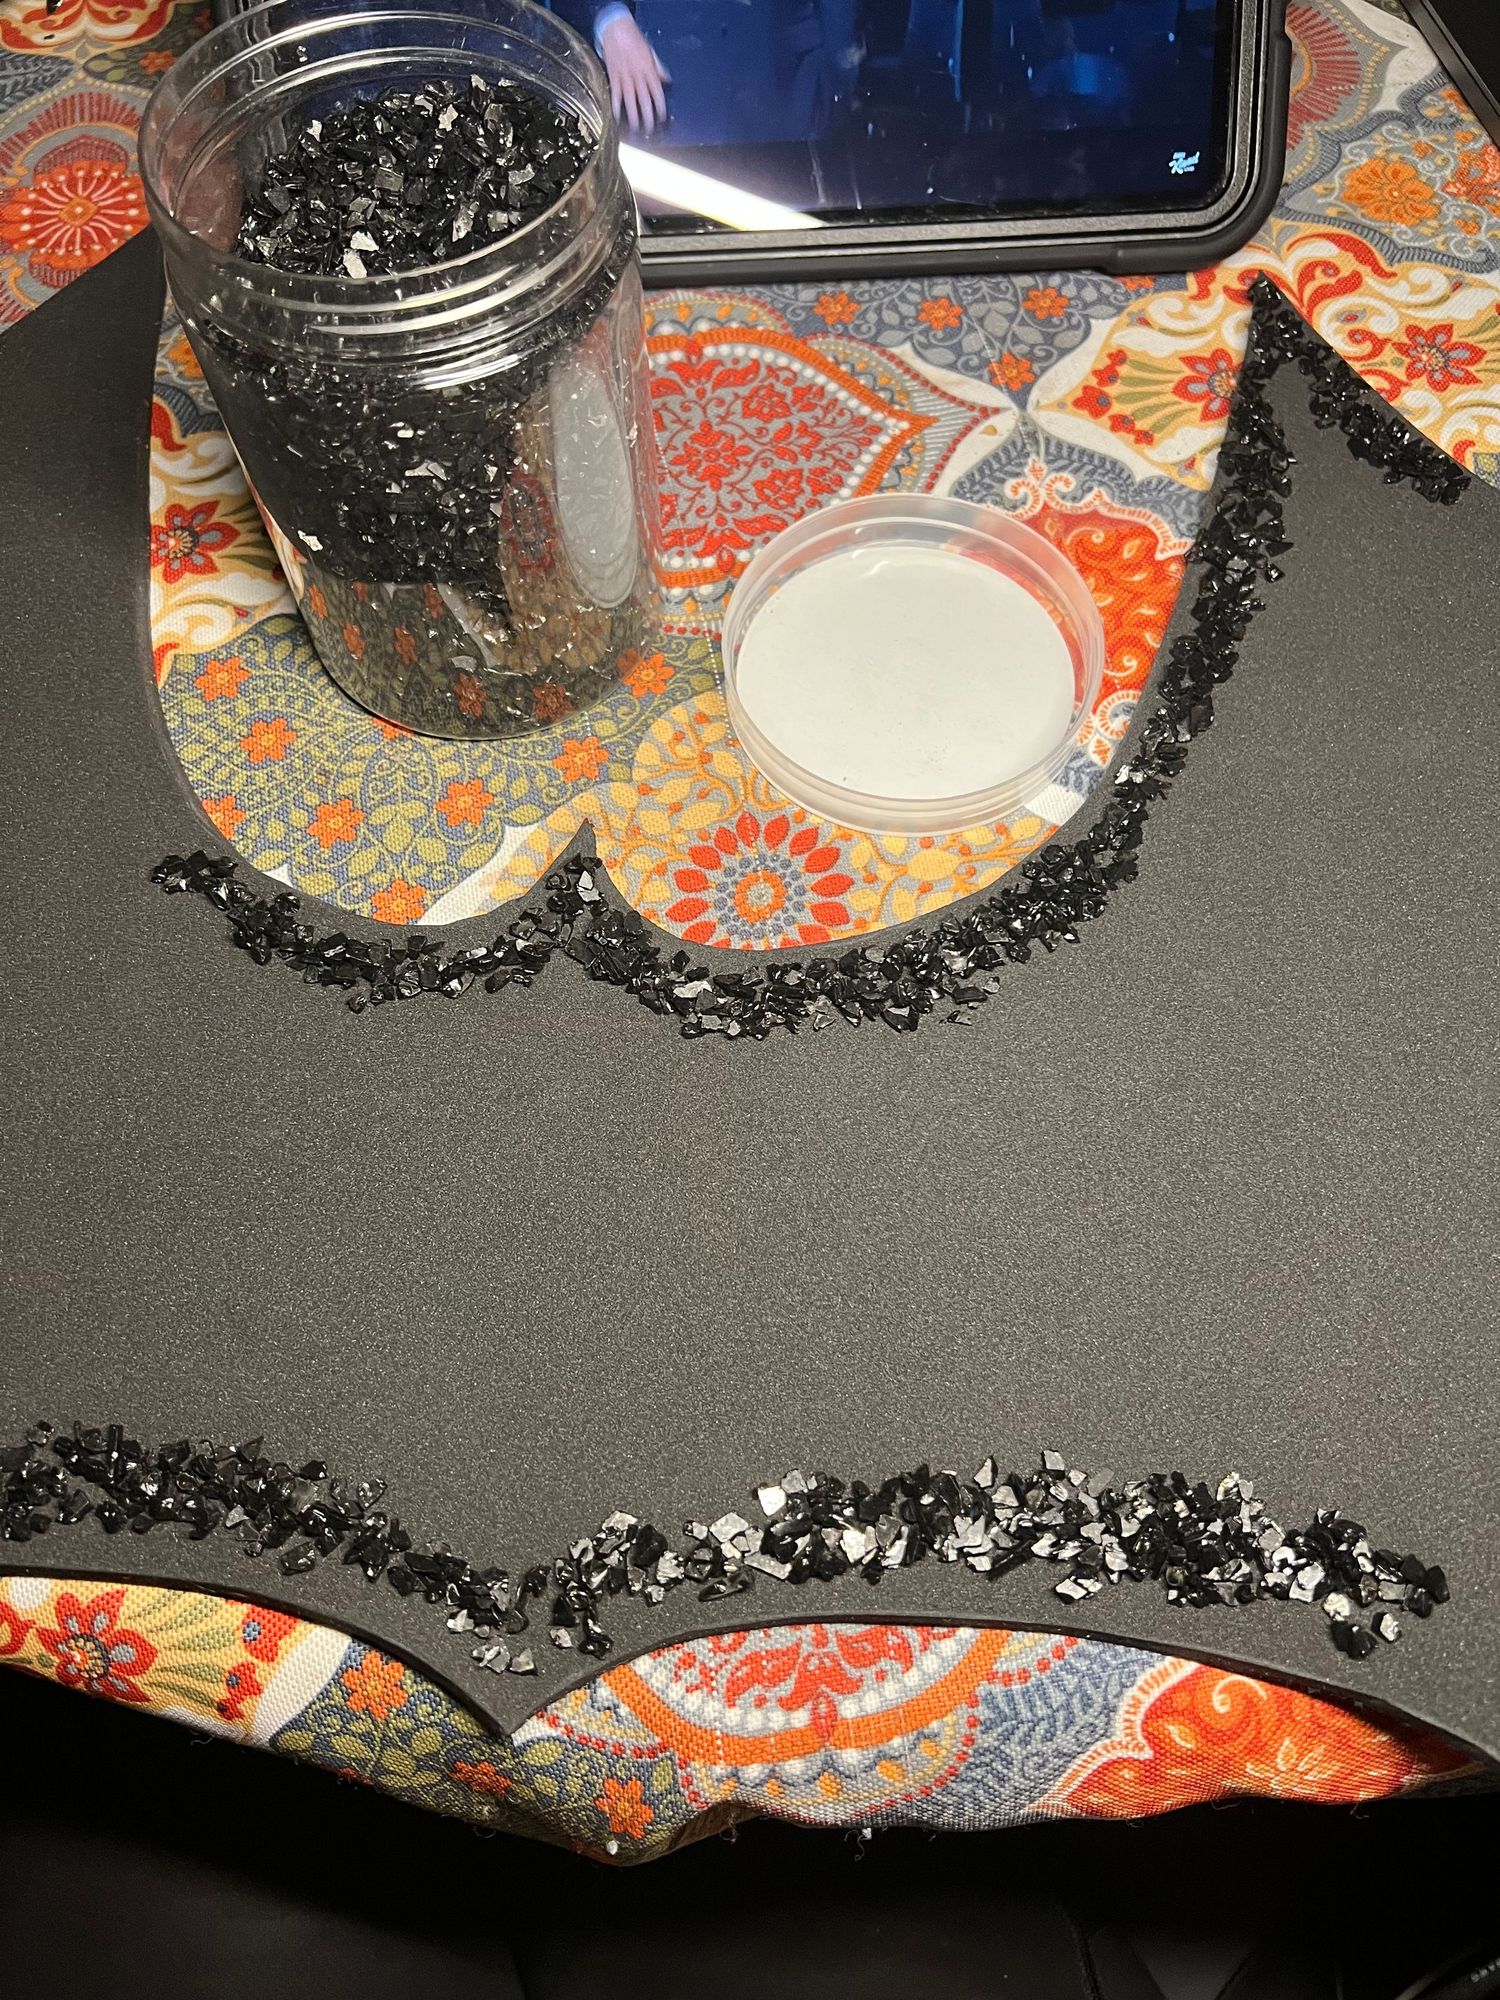
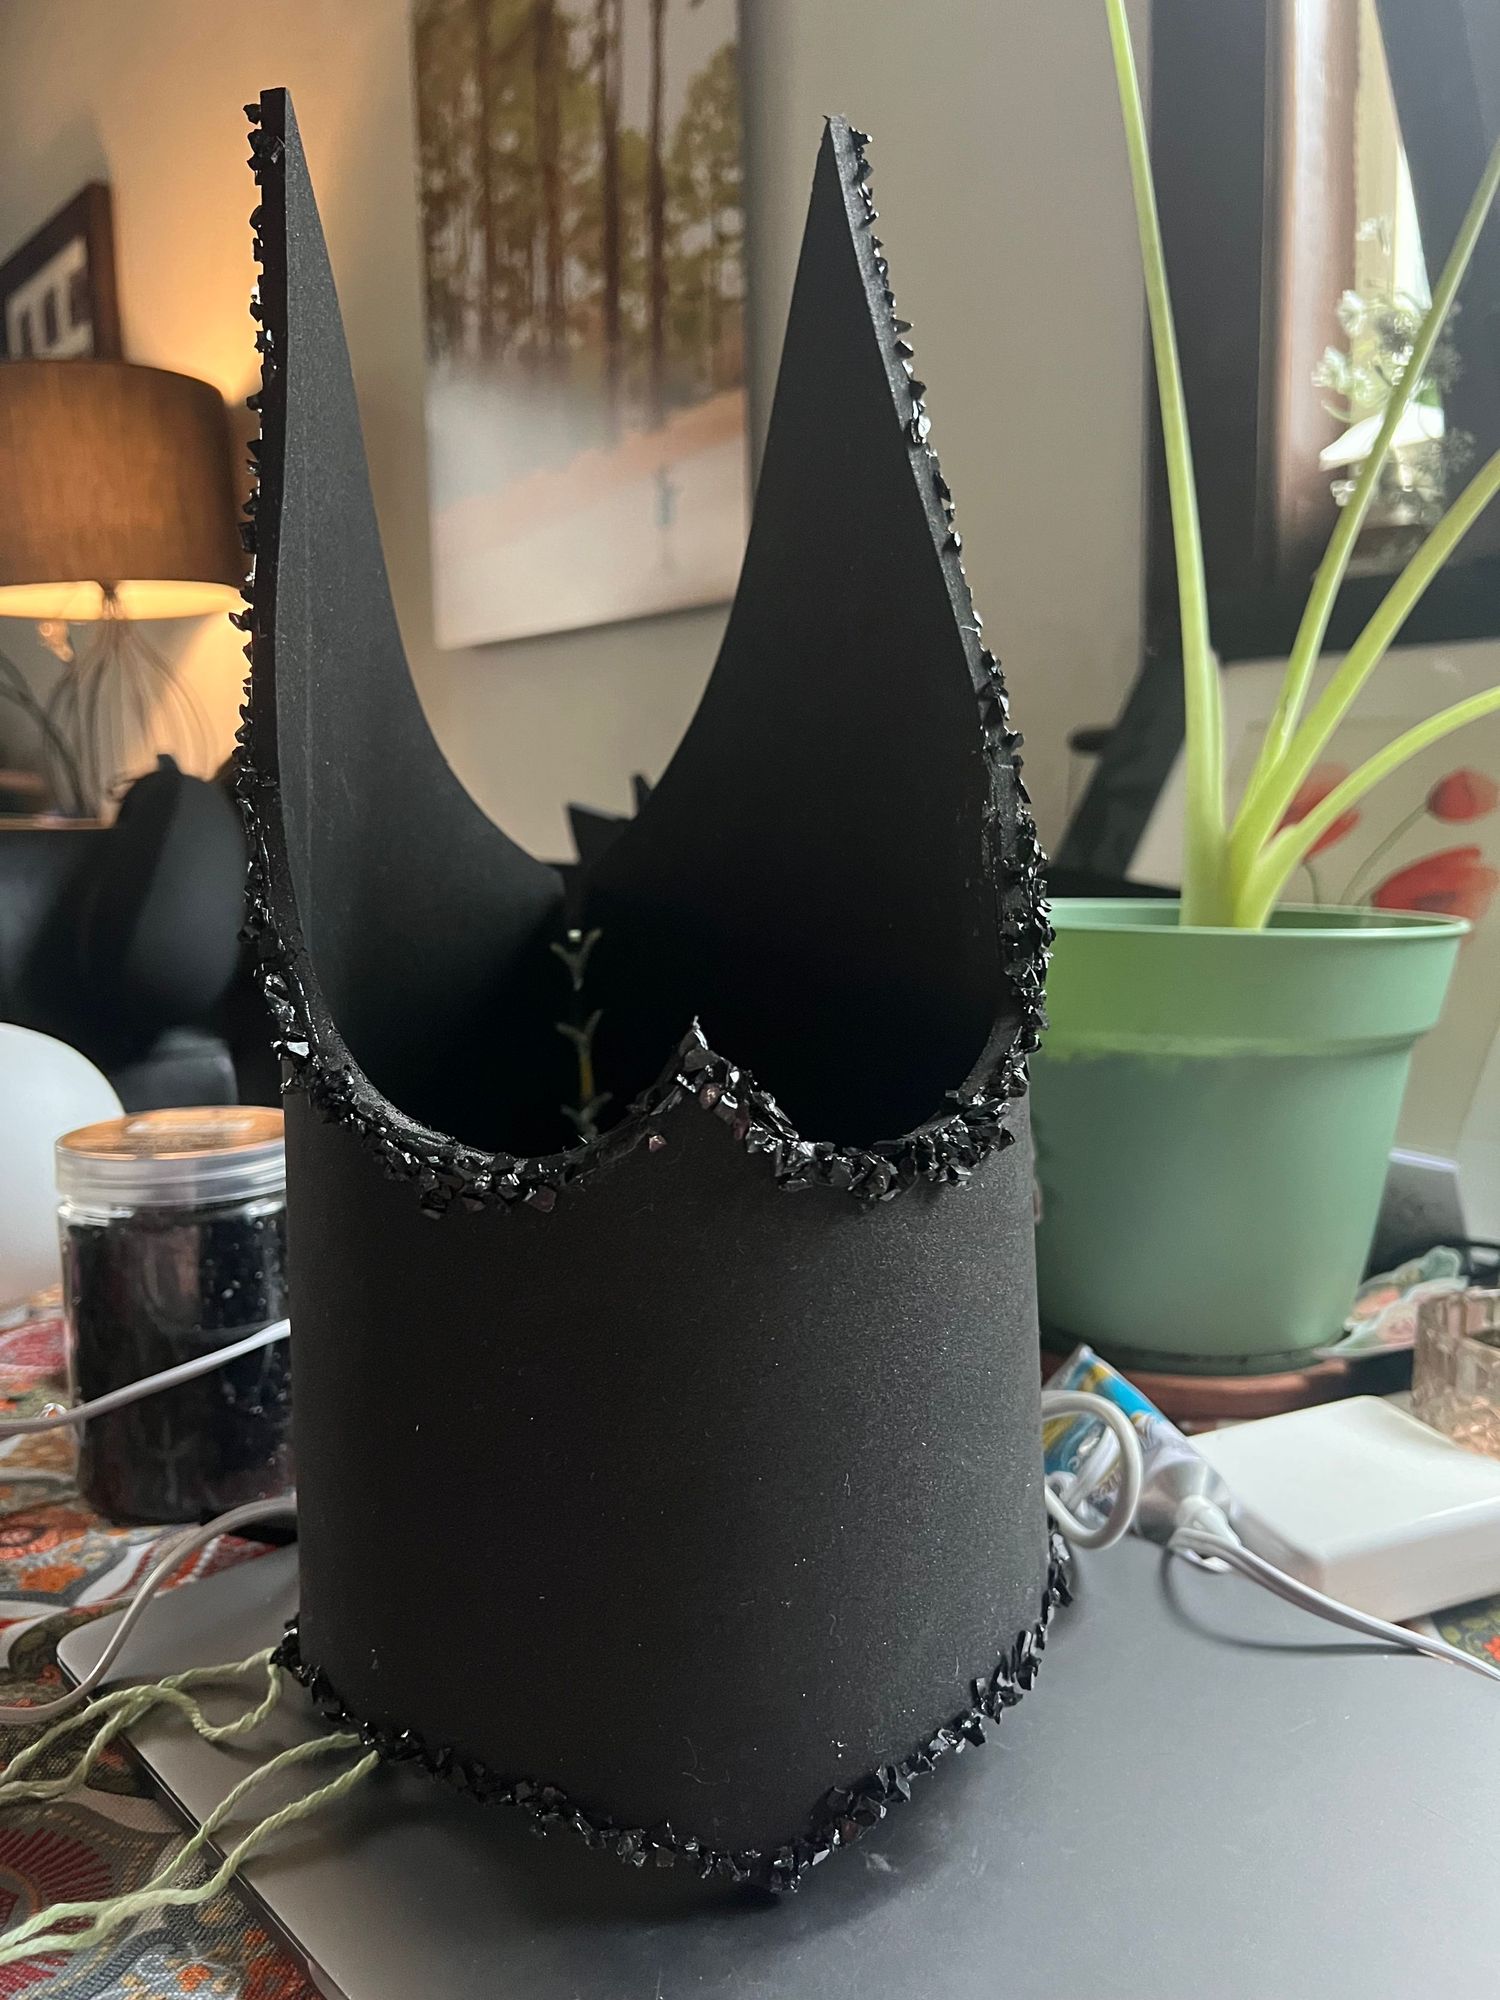
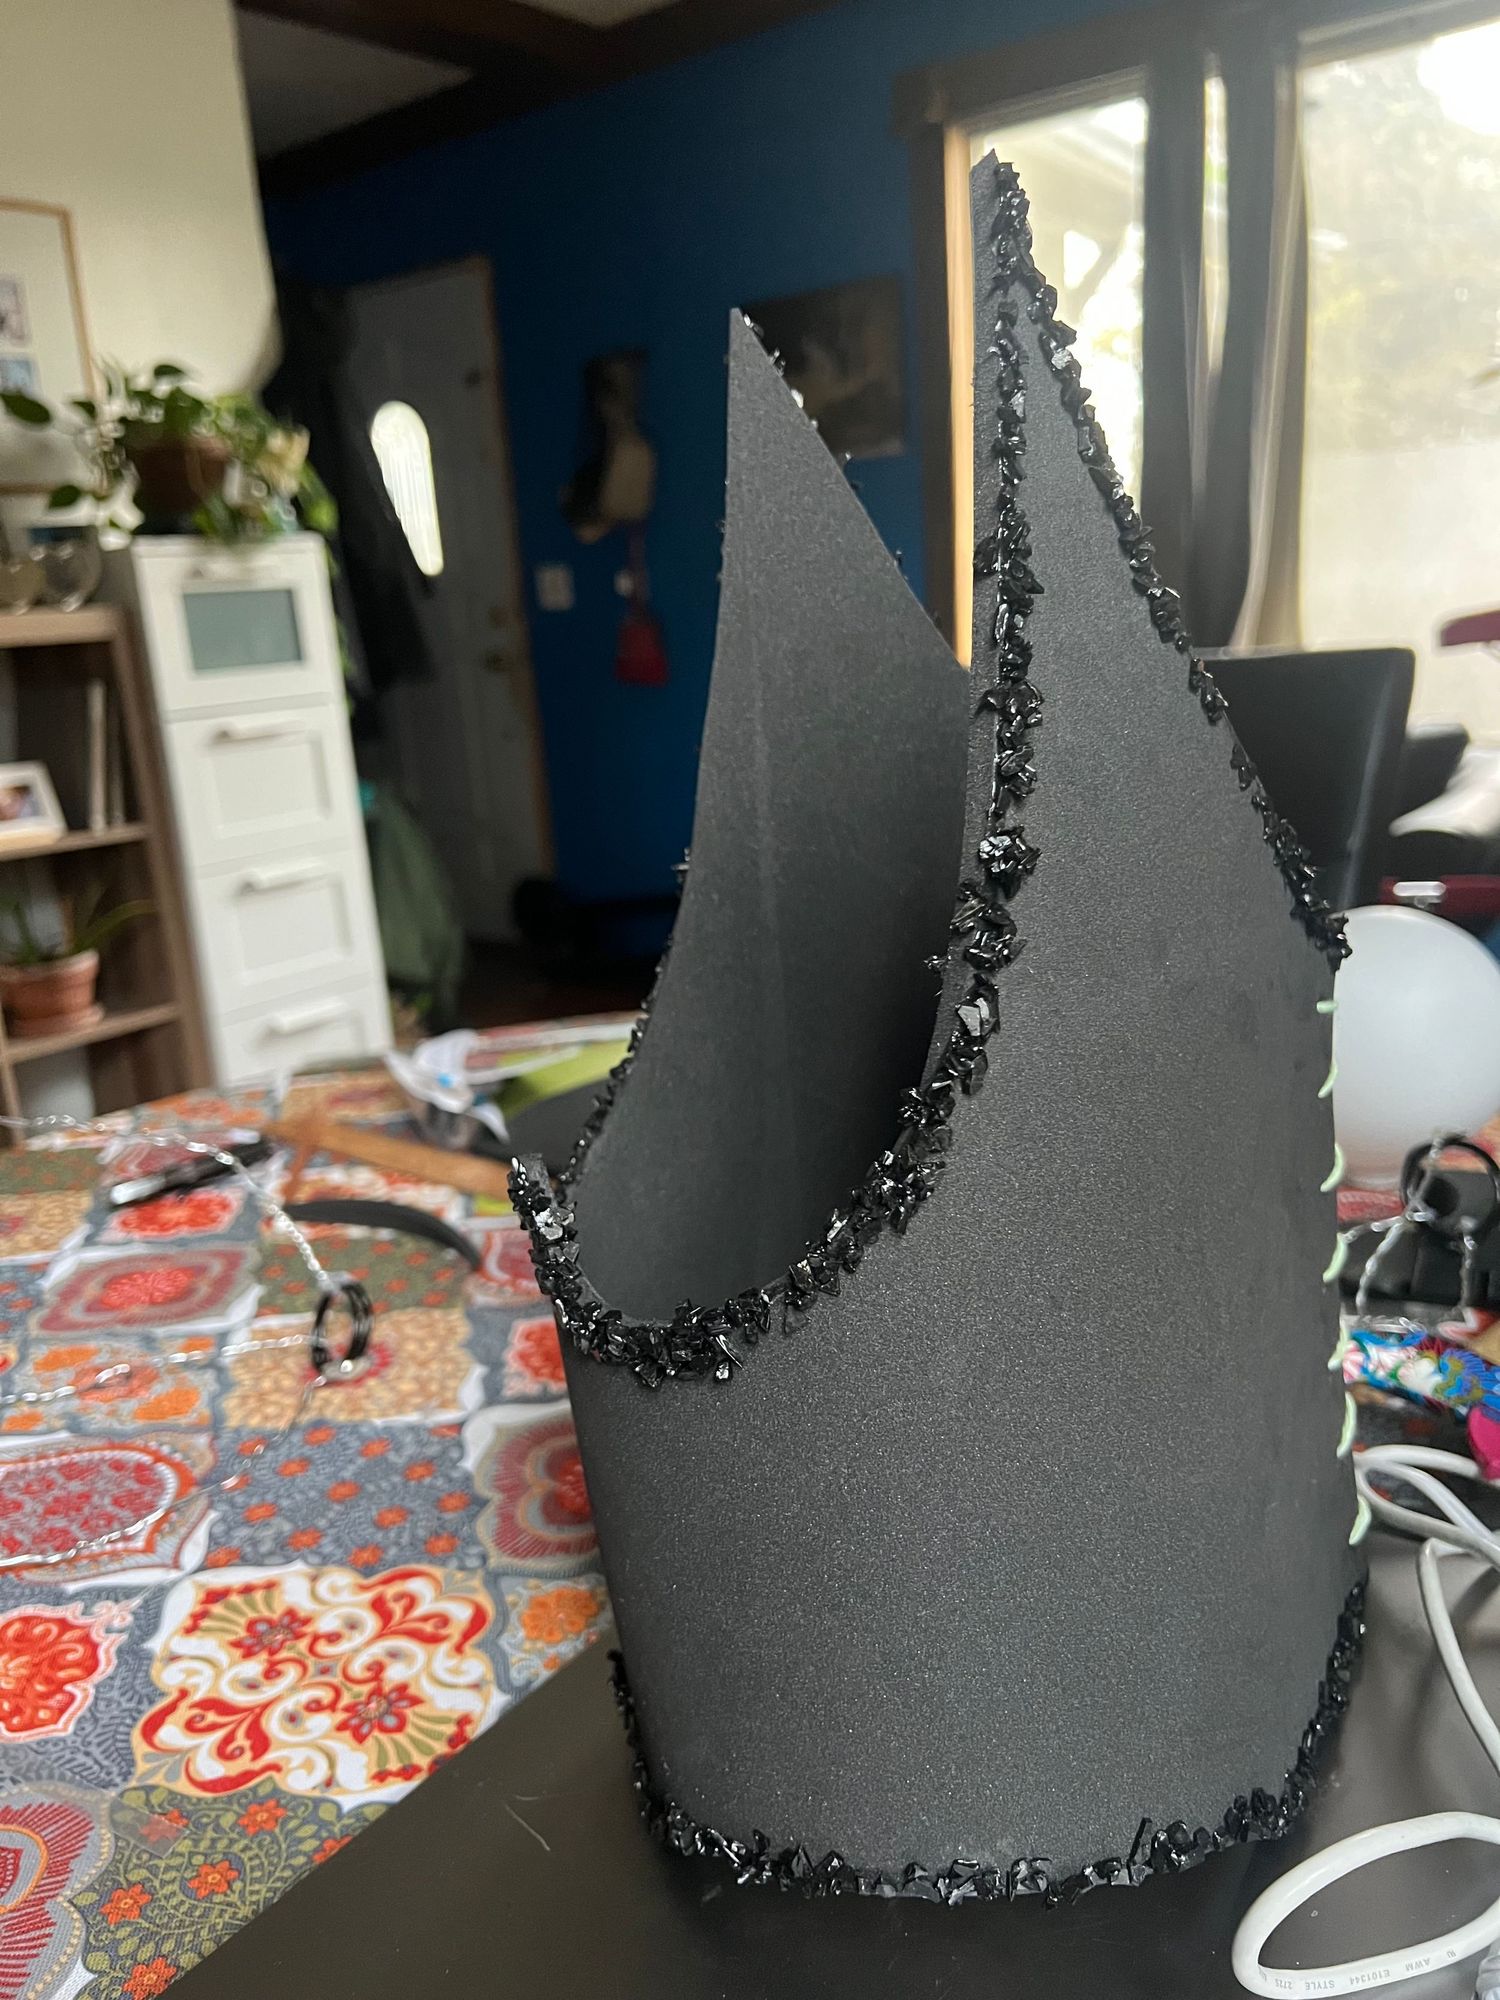
I decided to use the shards to outline the crown. I wanted to keep the foam itself black,
but give it a little more texture and something that would catch the light.
I laid the pieces out first, experimented with the placement, and eventually started attaching them with hot glue.
They gave the crown a much more finished look and added this subtle, almost armor-like quality.
And while I was working on that…
I had ordered some plastic [eye] balls to arrive in the mail.
The Search for the Eye
This turned out to be one of the biggest challenges of the entire project.
I knew what I wanted the finished eye to look like, but finding the actual ball was another story.
I tried a few different options..
Too big..
Too small..
Not light enough.
No opening for the lights.
I was beginning to realize that the ball wasn’t just going to be one part of the project.
It was going to determine how the entire thing worked.
I needed something large enough to look like an eye, but light enough to sit above someone’s head.
I also wanted to be able to put lights inside of it, to make the eye glow at night.
So I kept looking.
I actually went back to Michaels a few times hoping that the Christmas
decorations would start to be stocked. I knew that I wanted a fillable ornament,
and one of the employees had told me at an earlier visit, that they may have them in stock soon.
And then, almost at the last possible moment, I got lucky.
The Christmas Ornament
Michaels had just started stocking their Christmas merch (in October).
And there it was.
A clear, fillable ornament.
It was perfect.
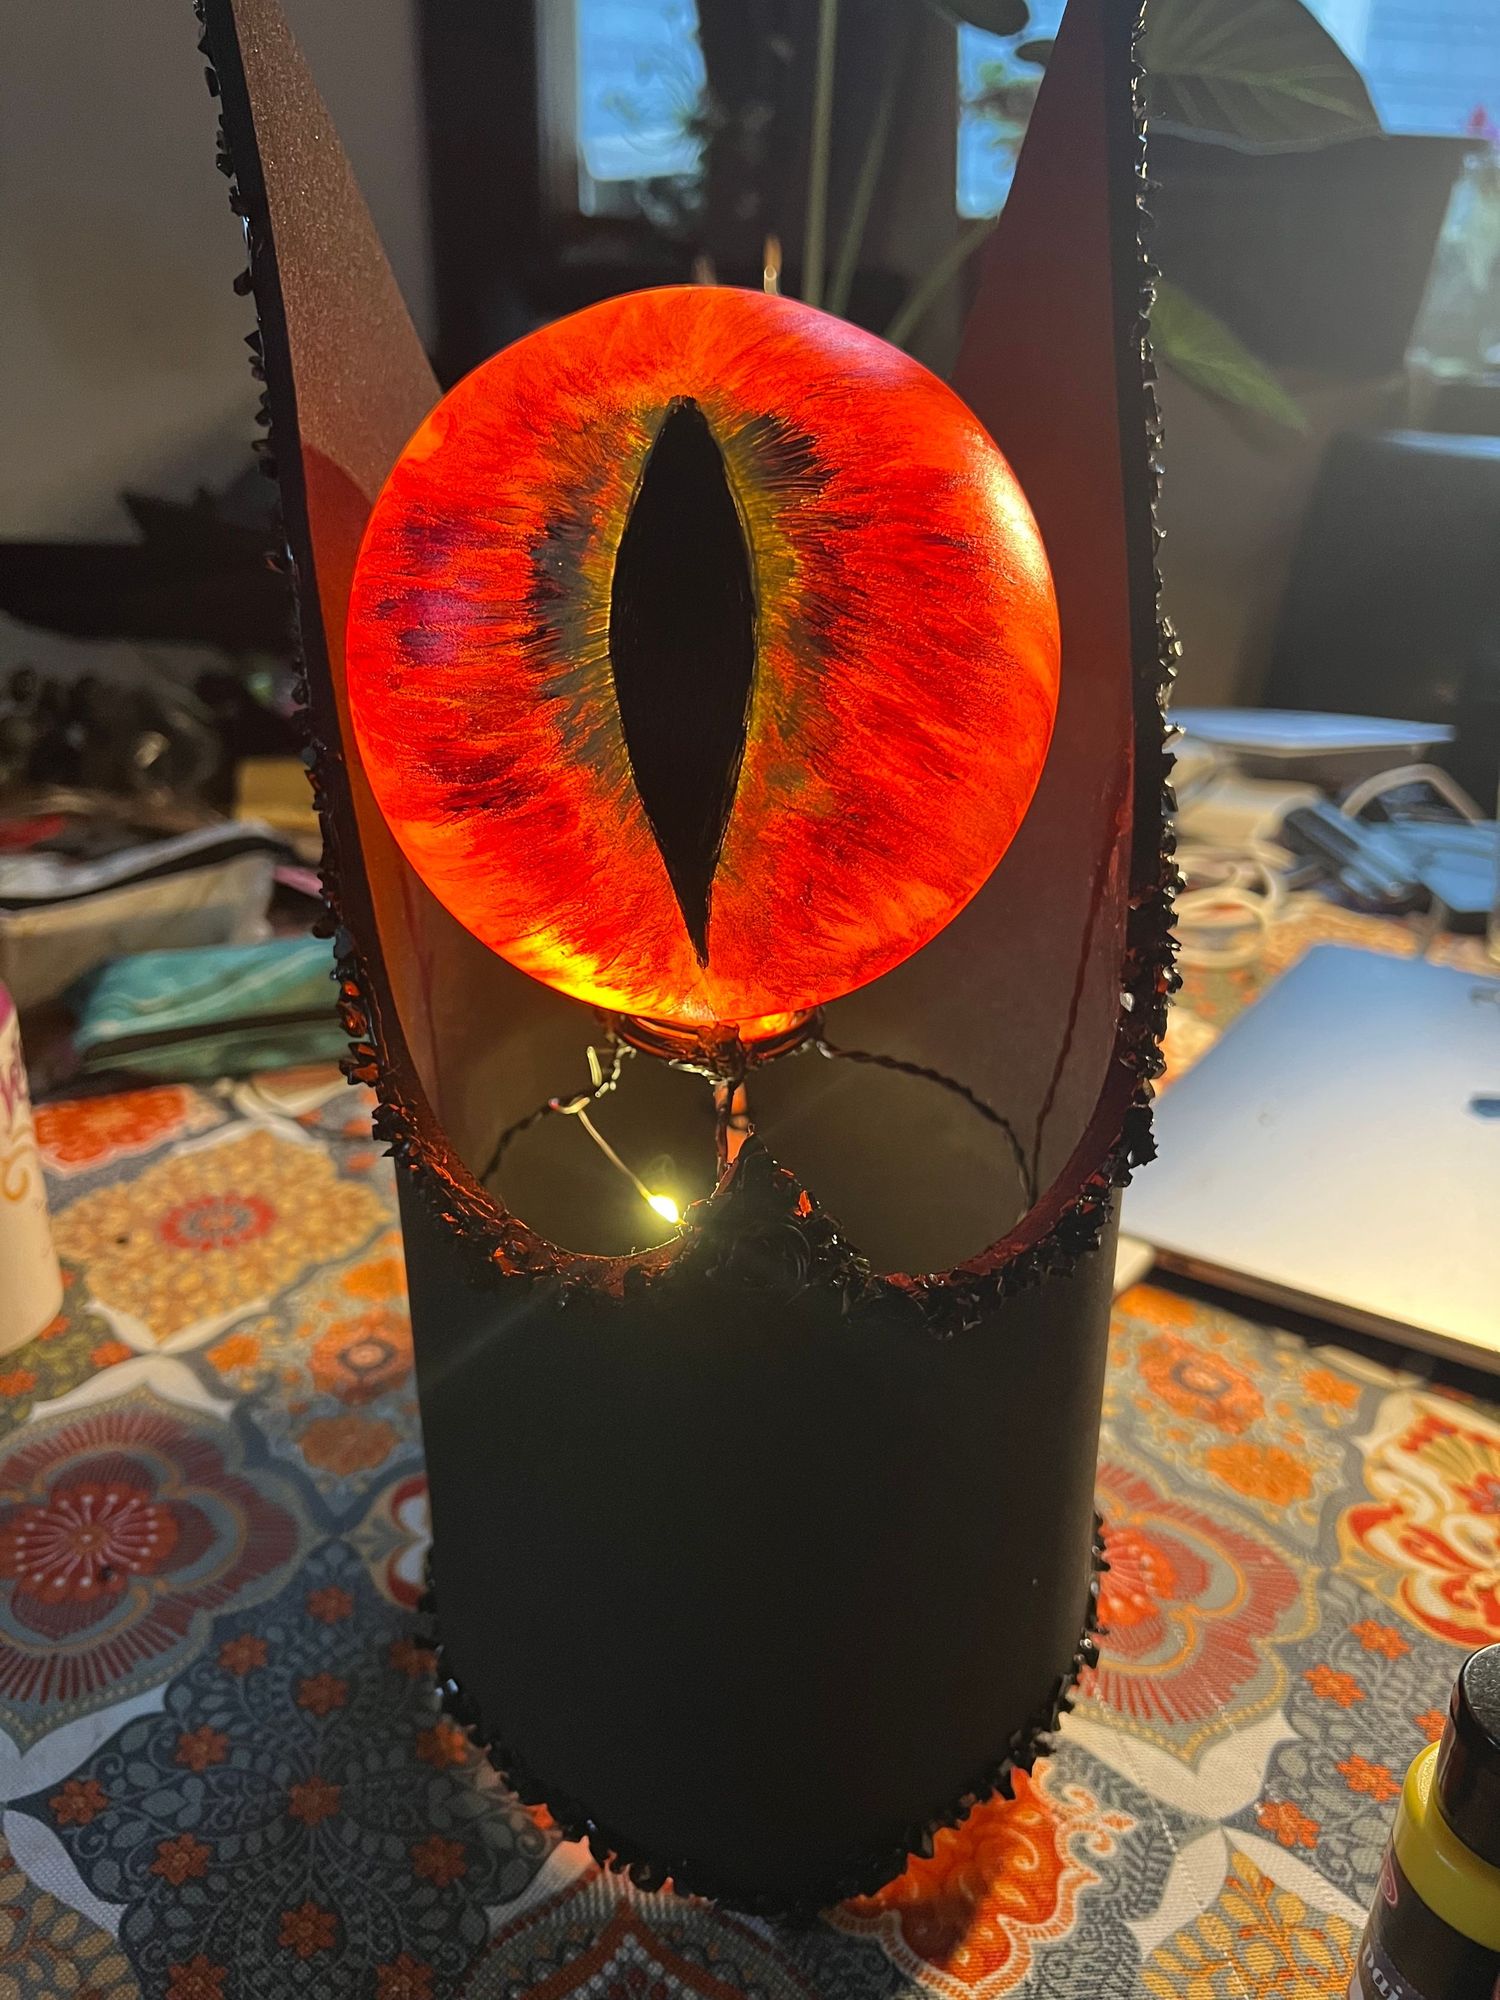
It was the right size. It was lightweight. It opened at the bottom, so most importantly, I could put lights inside.
After trying several other balls that weren’t going to work, finding that ornament felt like such a relief.
It was one of those moments where I knew everything was going to come together.
Figuring Out How the Eye Would Sit
While I was waiting to find the right ball, I had already started thinking about how I would actually hold it above her head.
I decided to use floral wire to create a little tripod structure inside the crown.
This took some trial and error (and some hot glue).
I needed the structure to be strong enough to support the orb, but lightweight and flexible enough that I could make adjustments.
Eventually, I created a circular area at the top where the ball could sit, supported by the wire structure.
The flexibility of the floral wire ended up being really helpful.
Once I actually tried the crown on, I could gently bend and adjust the wire to change the position of the eye.
That became really important because I didn’t have the luxury of building everything to the exact measurements beforehand.
I had to build something adjustable.
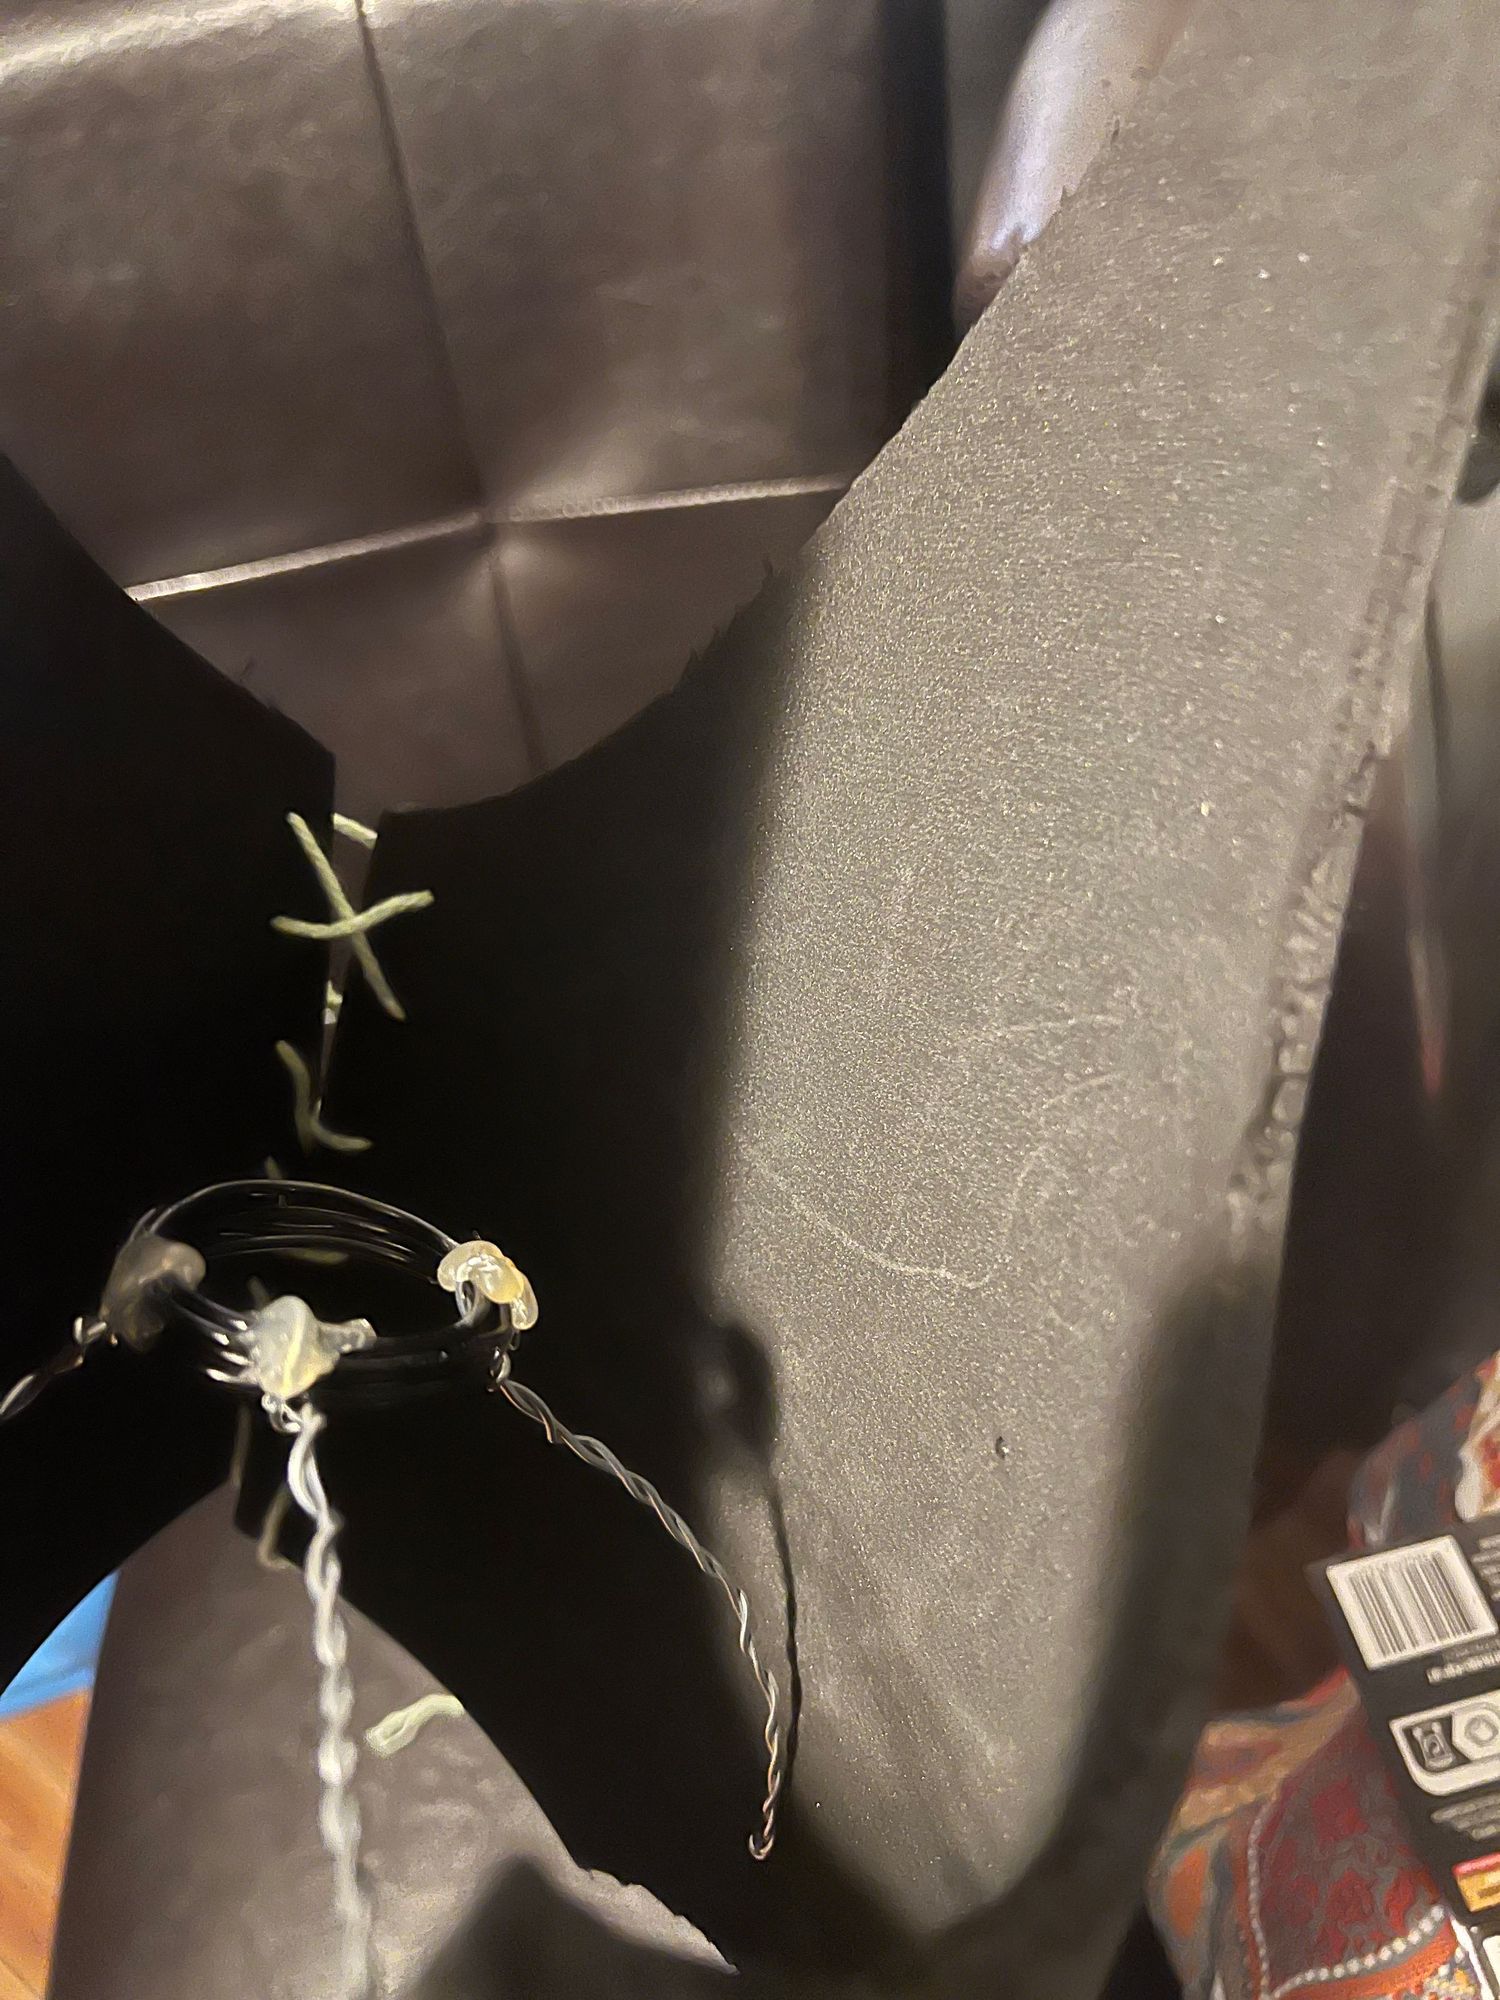
(Once I knew what I was doing, I remade the crown because this prototype was all scratched up.)
Finally, I Could Paint
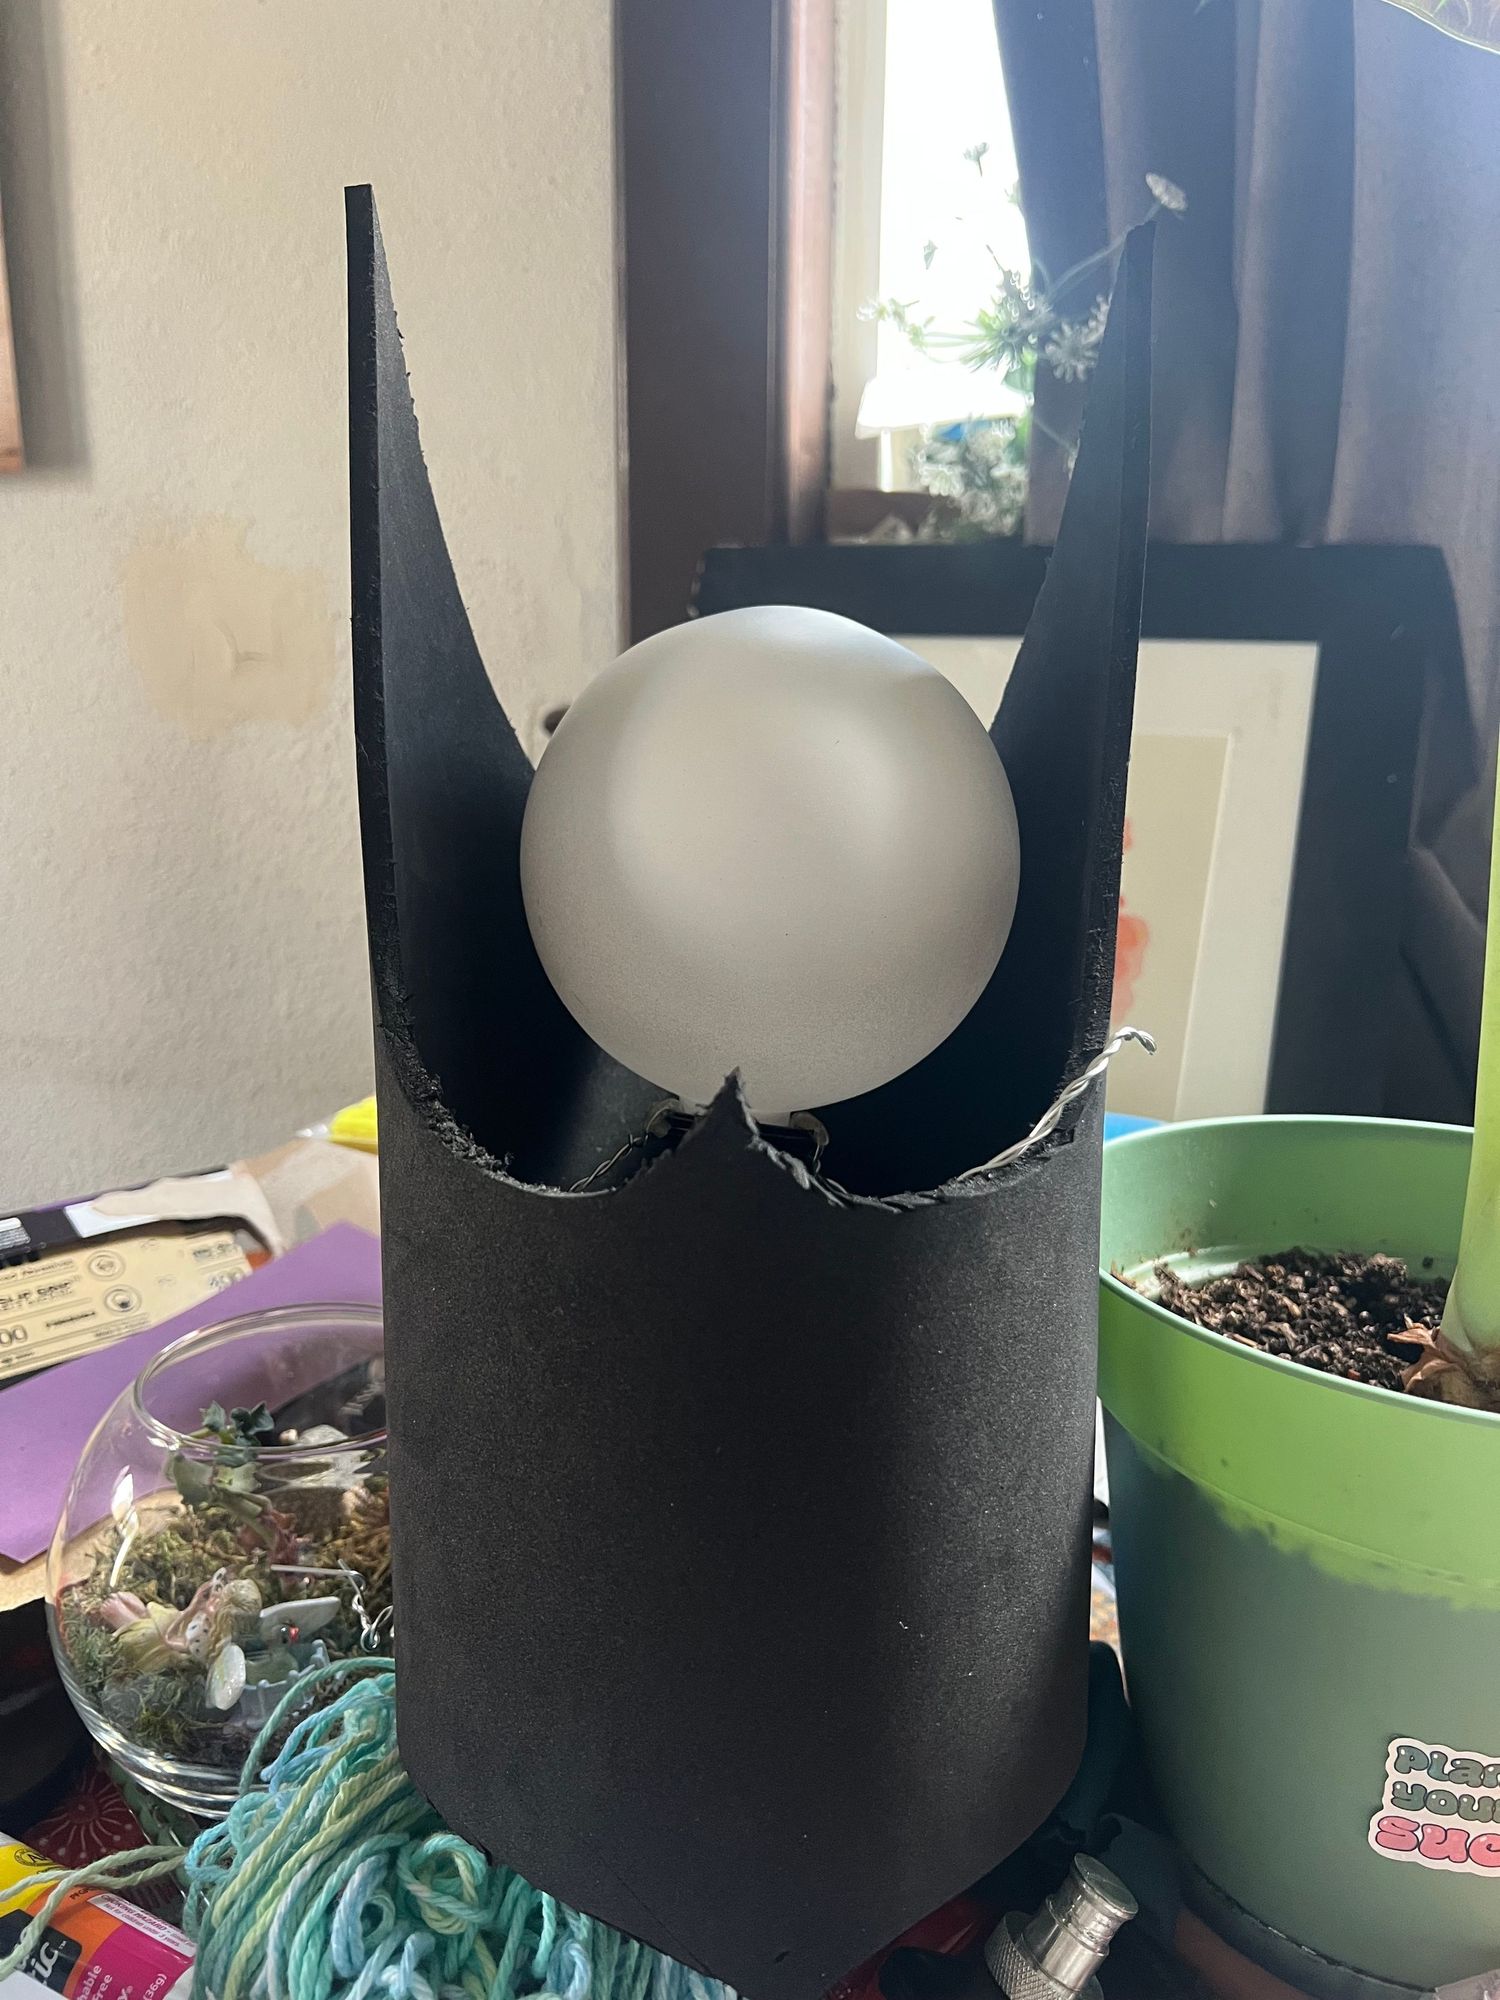
Once I had the ornament, I could finally start turning it into an eye.
Before painting, I lightly sanded the plastic surface with 400-grit sandpaper
and primed it so that the acrylic paint would have something better to adhere to. I used a white primer
[Krylon COLORmaxx Primer (Flat White)].
Then came the fun part.
Paint!
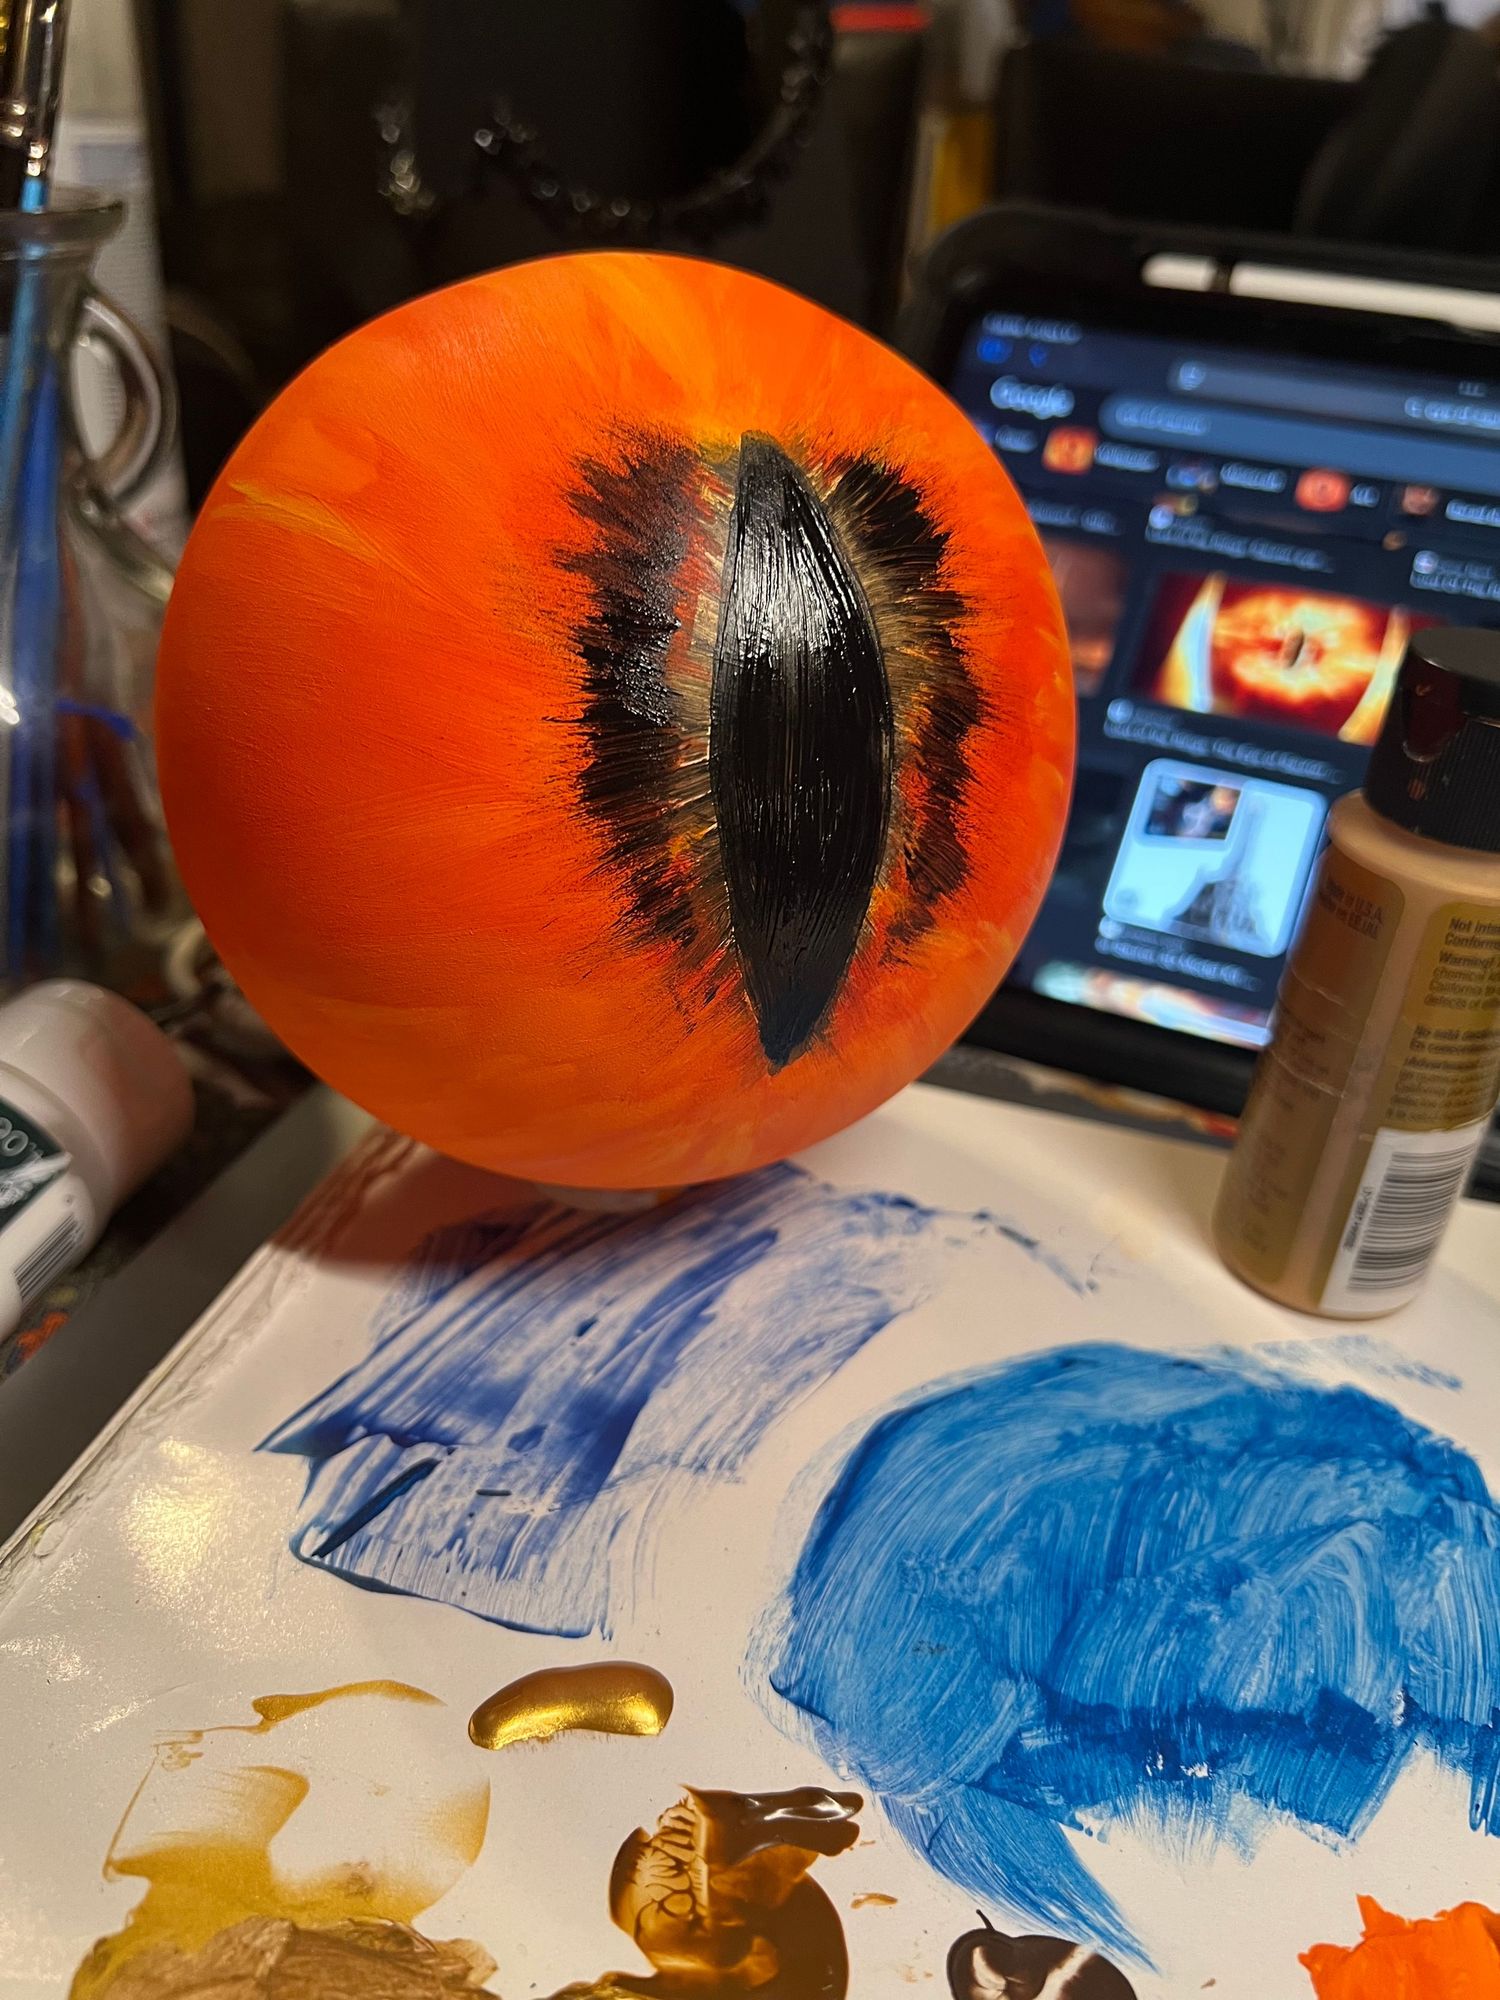
I wanted the eye to feel fiery and alive, rather than simply look like a picture of an eye painted onto a ball.
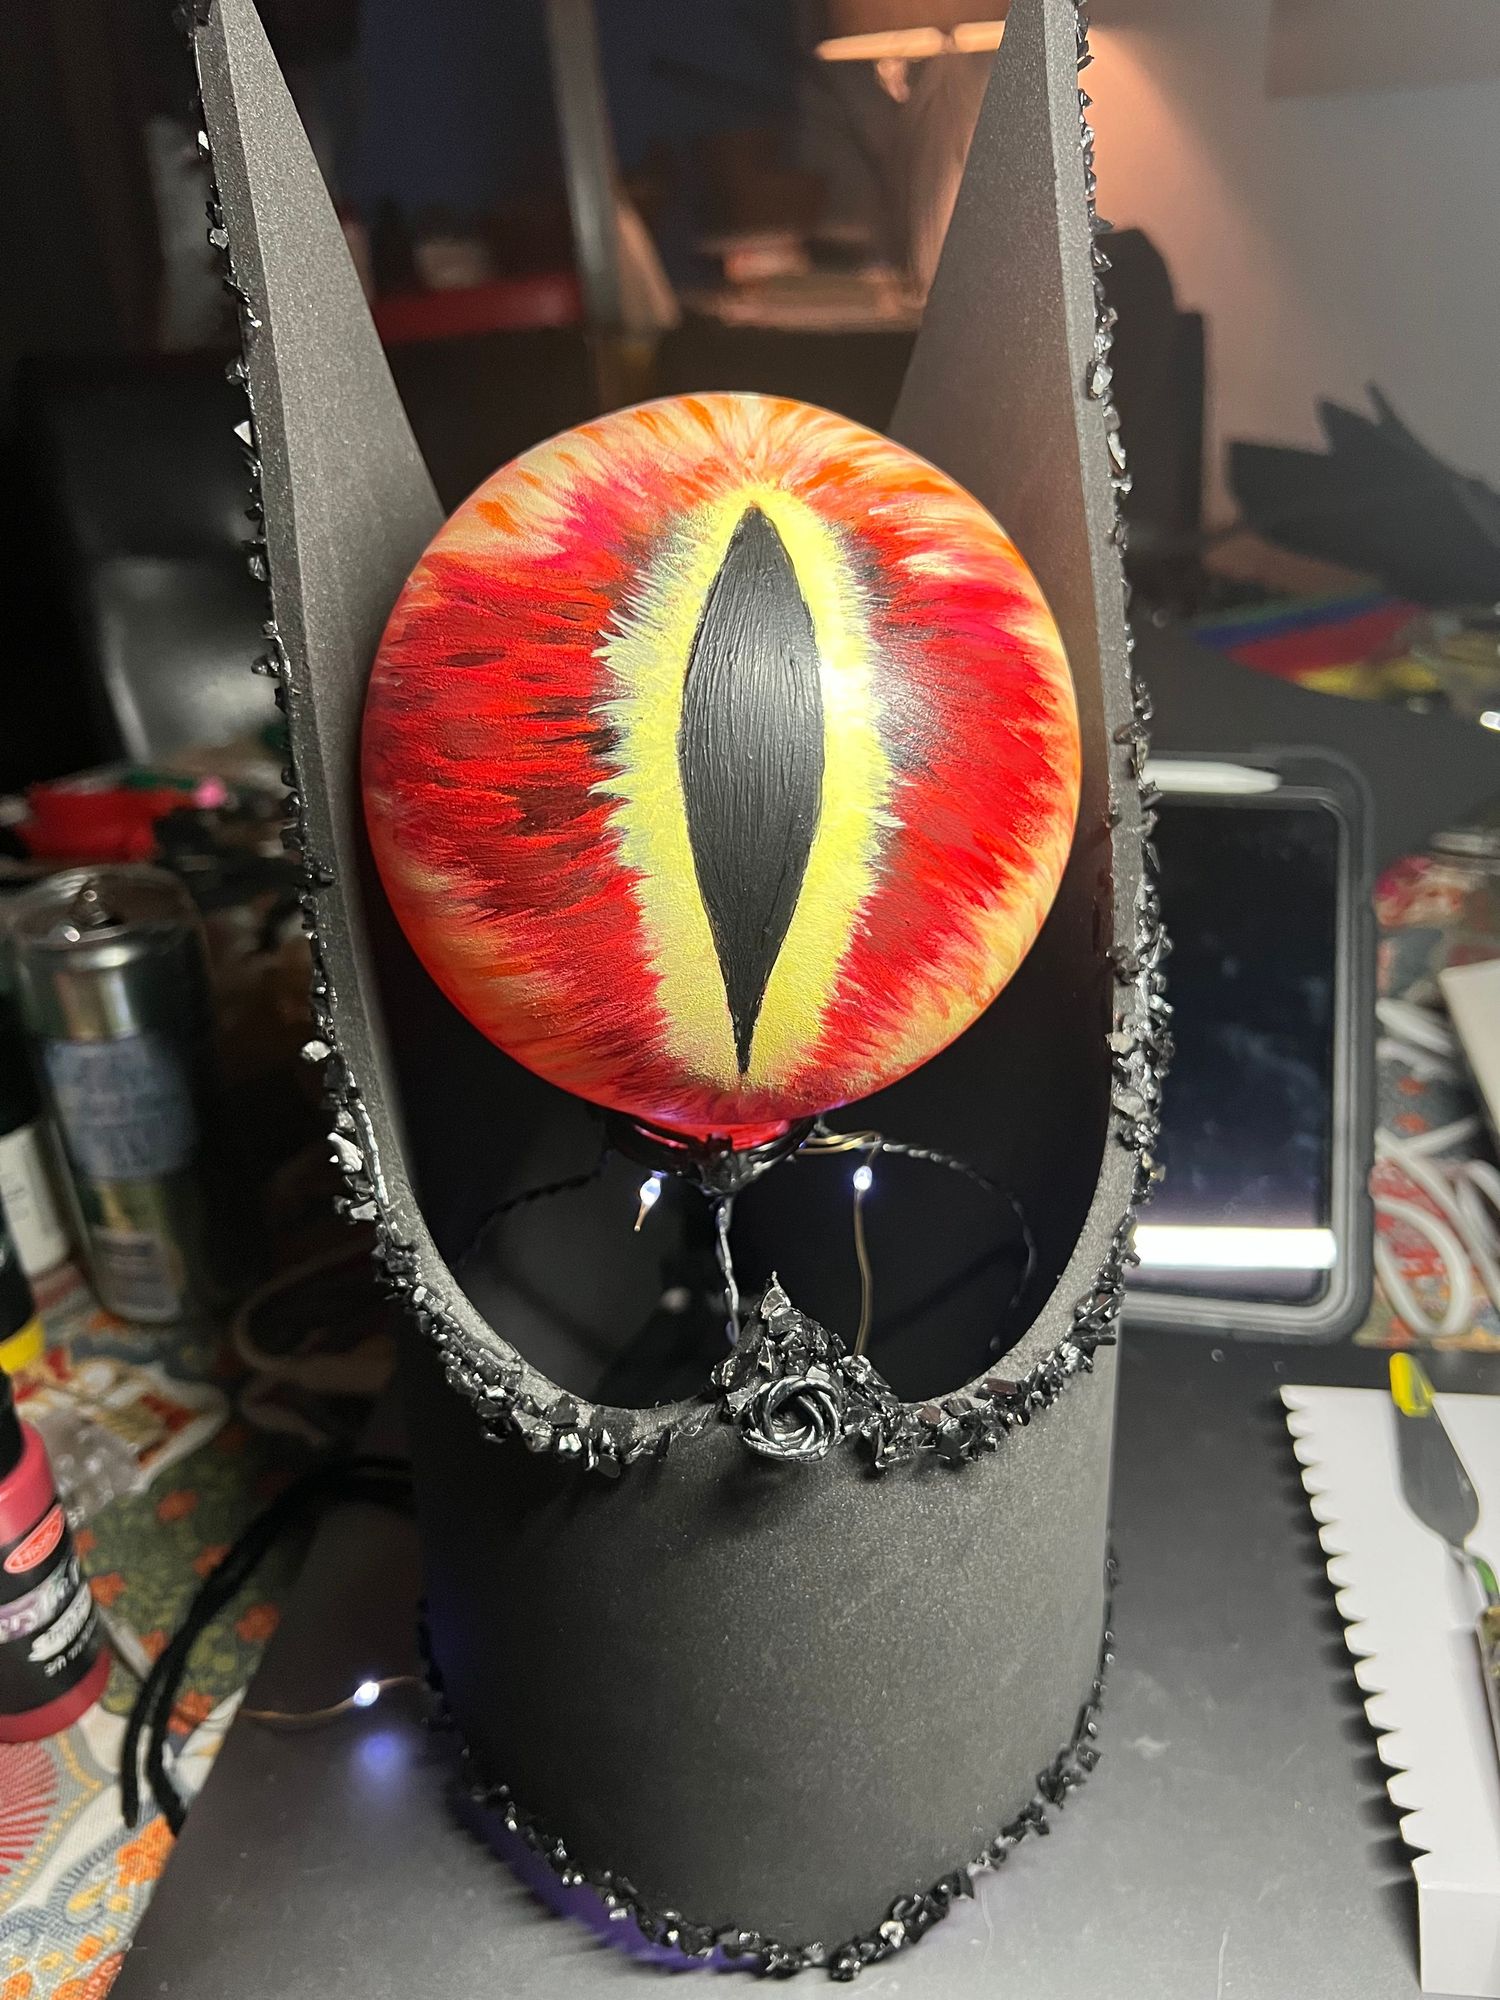
I built up layers of color using acrylic paint. I worked outward from the pupil, using reds, oranges, yellows,
and darker tones to create that intense, burning effect.
I wasn’t trying to make every brushstroke perfect.
Actually, I think the imperfect, energetic brushstrokes helped.
They made the eye feel like it had movement.
Like heat or fire...something that was actually glowing from inside.
Once the paint dried, I sprayed the eye with a Krylon High Gloss finish to seal the paint.
Adding the Glow
I knew from the beginning that I wanted the eye to glow at night.
So once the painting was finished, I added fairy lights inside the ornament.
The first set I bought had cool-toned lights.
And immediately I knew…
Nope.
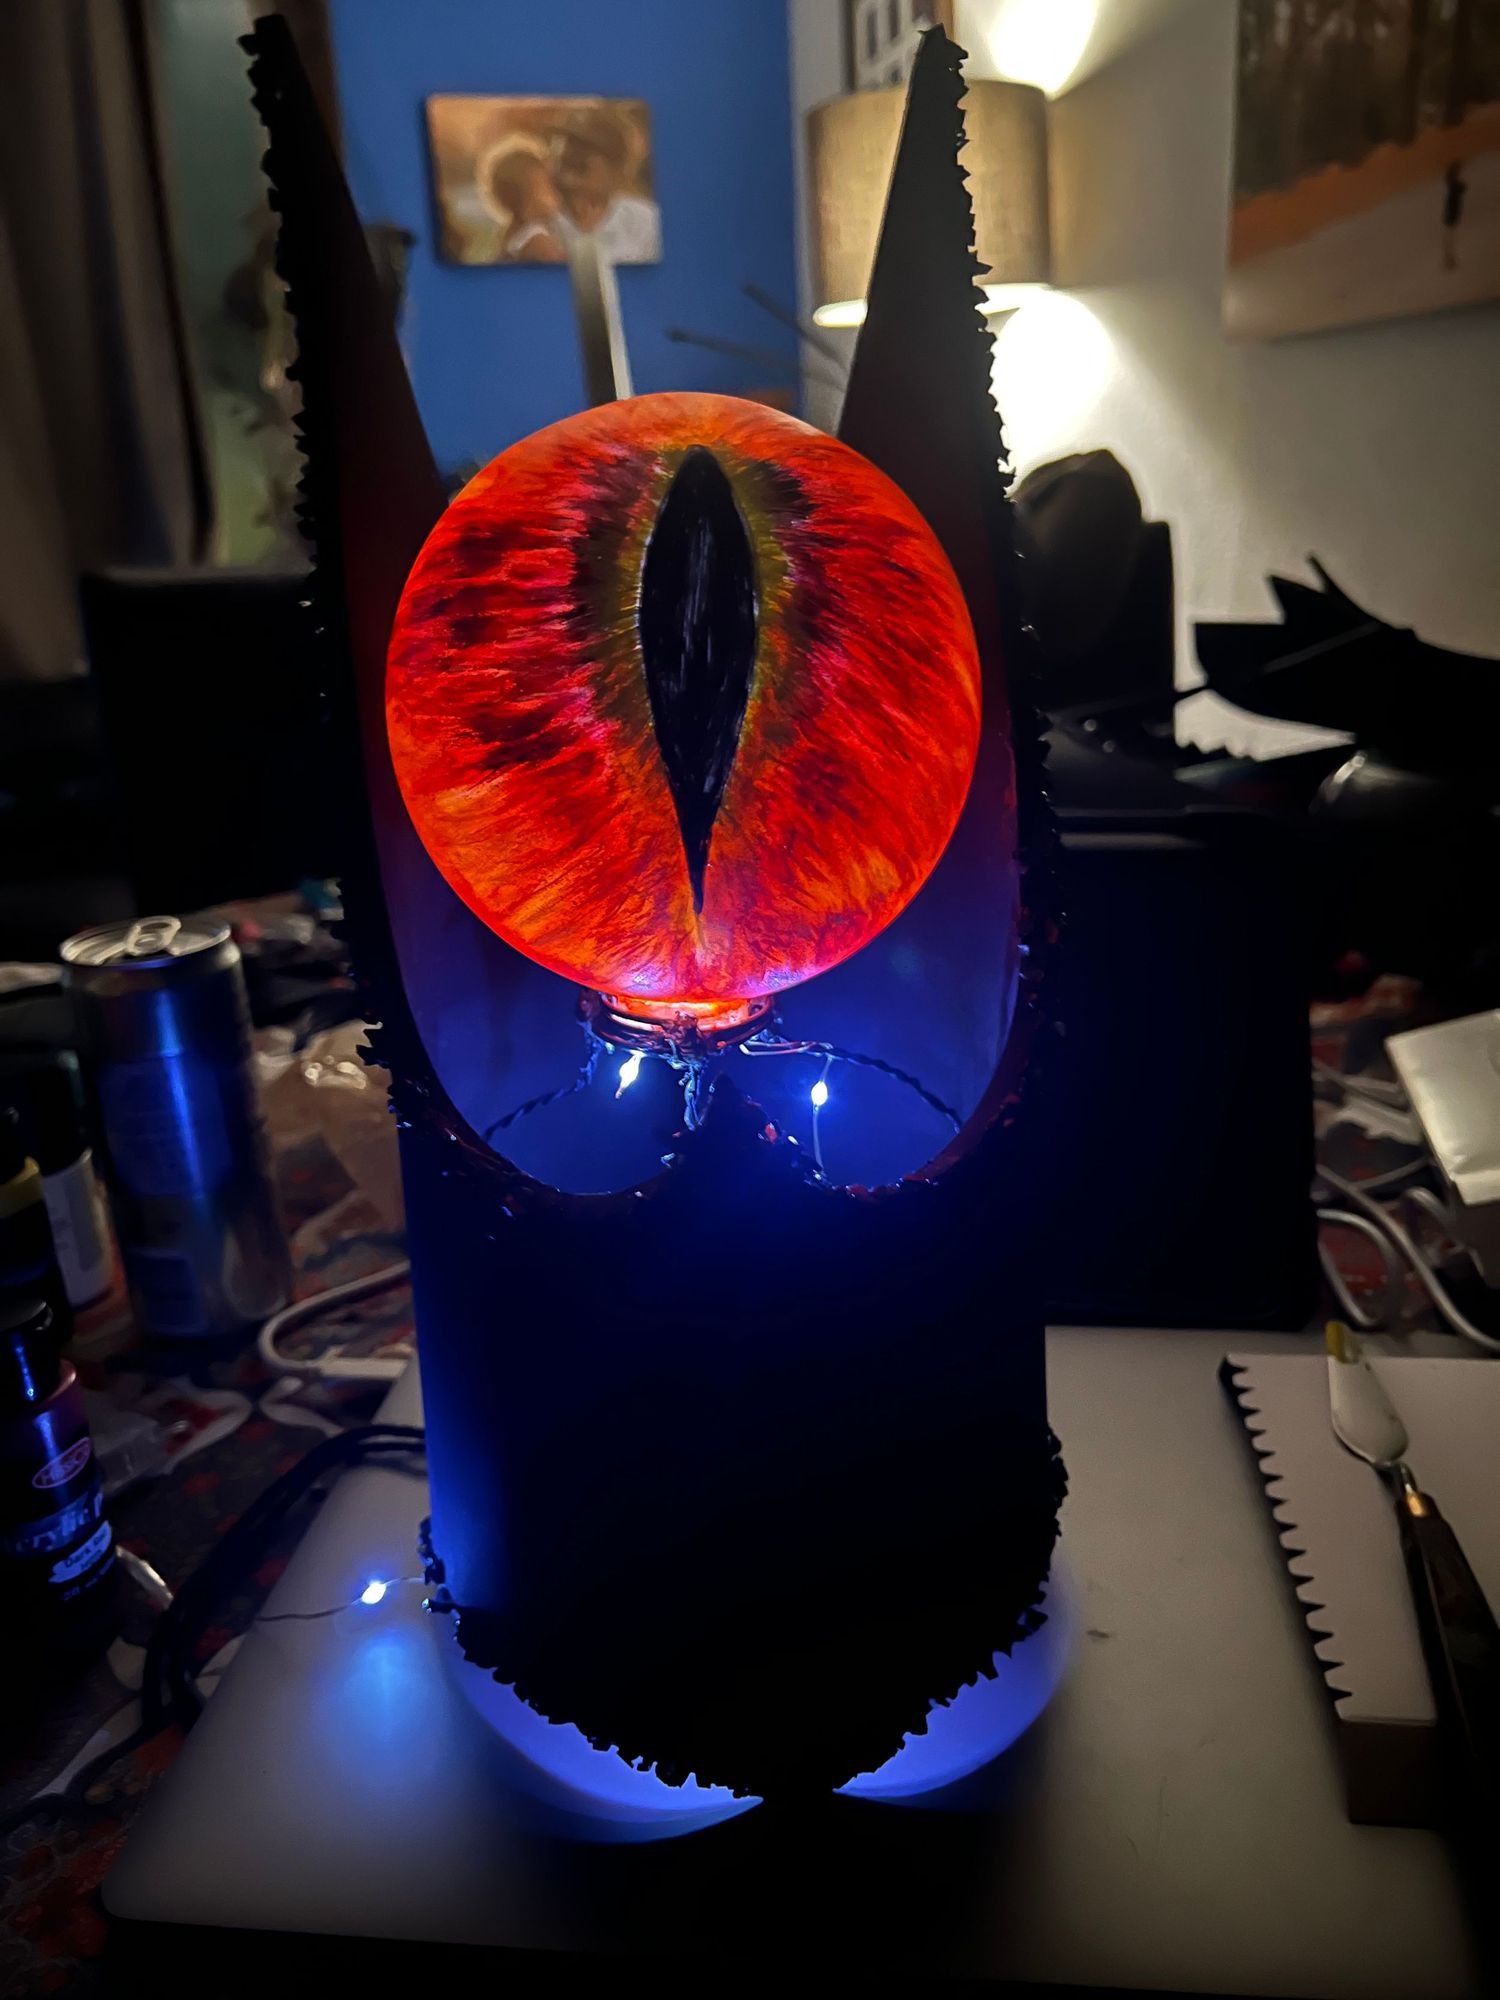
This was supposed to look like fire.
It needed warmth.
So I went back and got another set of lights..
this time the warm glowing kind.
It made such a difference.
The light coming from inside the orb added another dimension to the painted eye.
Instead of just looking fiery, it actually had light coming through it.
That was the effect I had been imagining from the beginning.
The Test Run
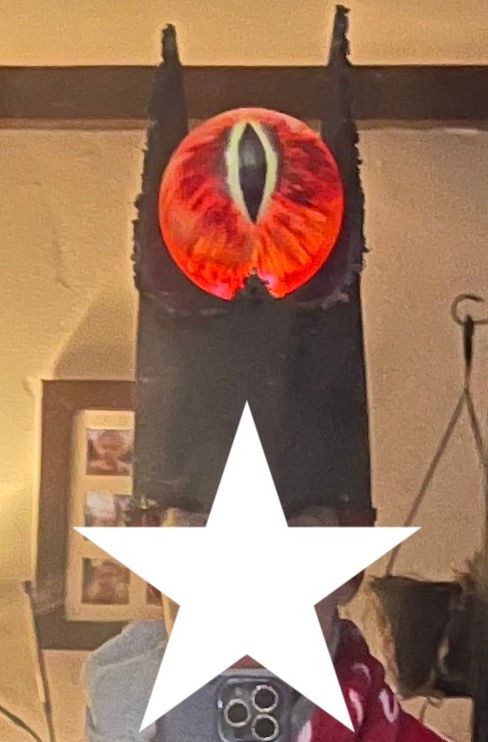
Eventually, it was time to put all the pieces together and actually try it on.
This was another moment where I was really glad I had used floral wire.
I could adjust the position of the eye by gently bending the wire until it sat where it needed to.
Because I hadn’t been able to measure everything directly on her head while I was building it, having that flexibility was incredibly helpful.
The crown could adjust with the yarn lacing, and the eye could adjust with the wire.
It wasn’t a perfect, precise engineering project.
It was something I had built to be forgiving.
A Lot of Trial and Error
I didn't even know what the Eye of Sauron was to begin with!
But I kept going.
One problem at a time.
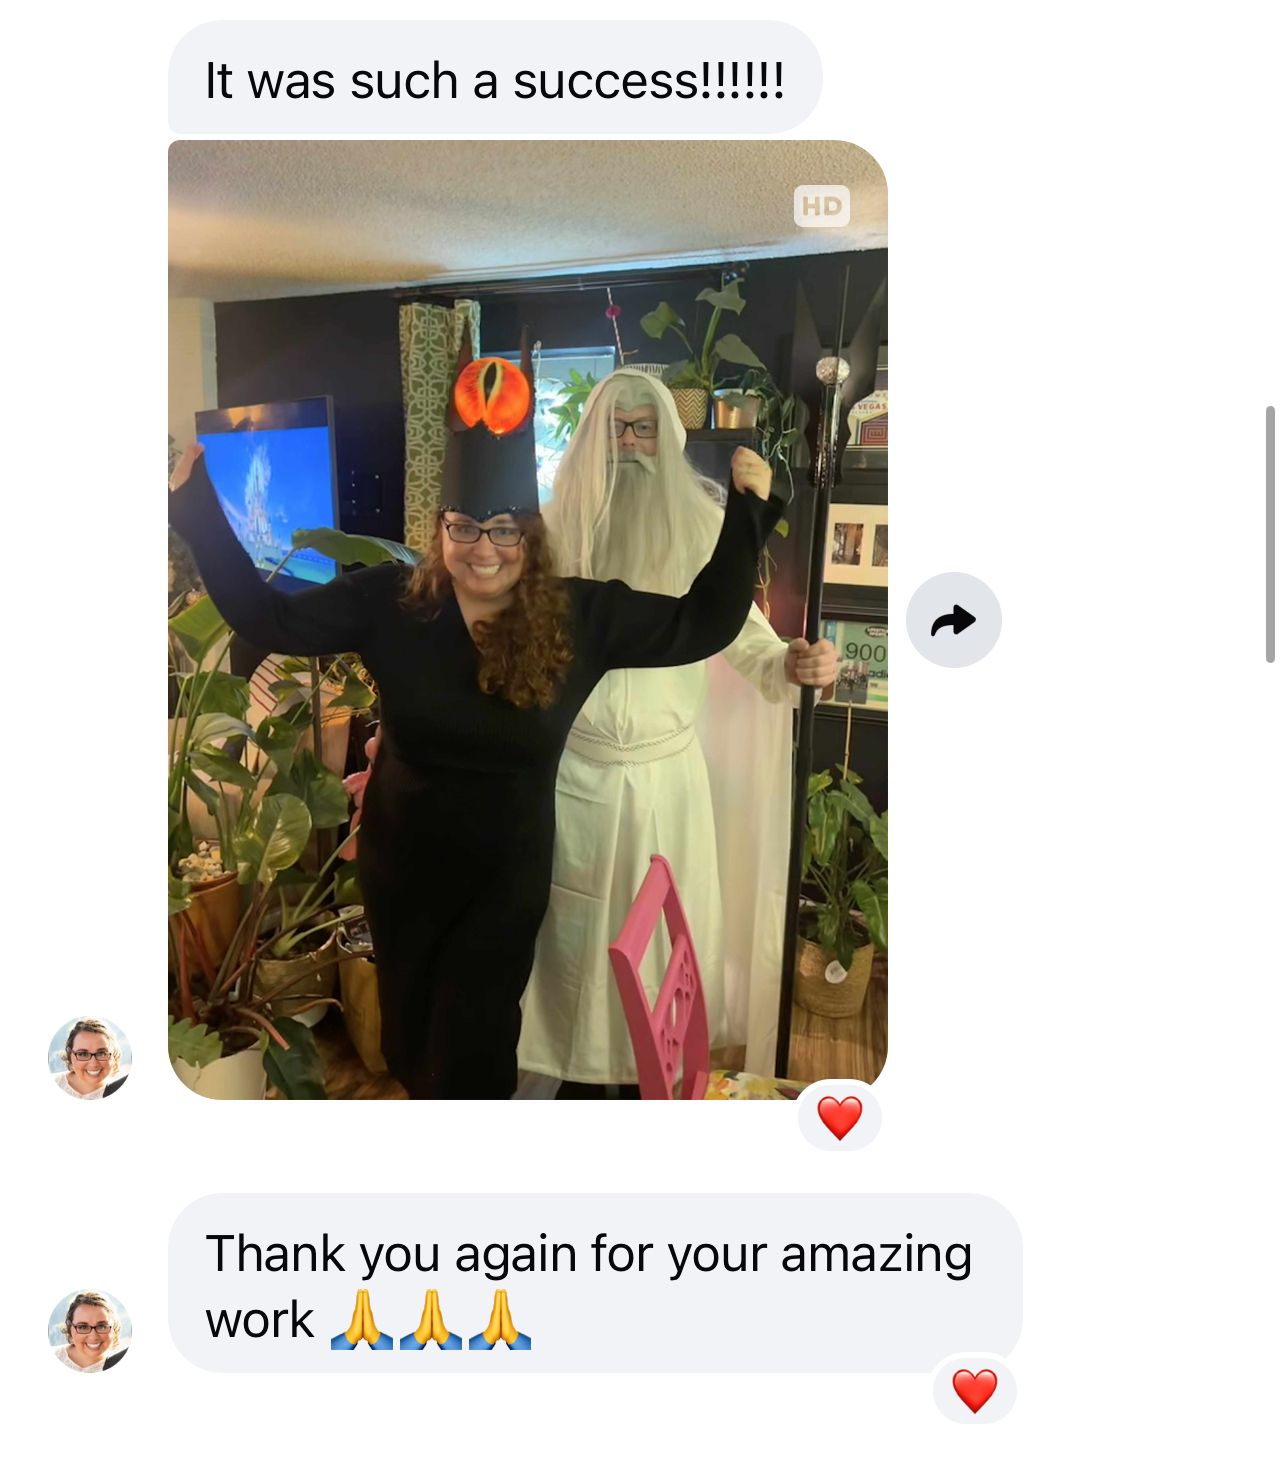
And she loved it!! That was definitely the best part.
Art is Messy
I think we sometimes imagine creativity as having a clear vision from beginning to end.
You have an idea.
You know exactly what materials you need.
You know exactly how you’re going to make it.
And then you make it.
But that’s rarely how it works for me.
My creative process is much more like following a trail.
Starting with an idea..
some trial and error.
Seeing what happens,
and adjusting accordingly.
That’s how this project evolved.
The crown wasn’t completely planned.
The eye certainly wasn’t.
The materials evolved as I went.
Even the lighting changed.
And somehow, all of those little experiments eventually became one finished piece.
The Art of Figuring It Out
And I think that’s one of the most beautiful things about being creative.
You can start with something you don’t know how to make.
You can be unsure.
You can make mistakes.
You can change your mind.
You can take something that was sitting on a clearance shelf at Michaels without knowing what you’re going to do with it,
and eventually turn it into part of a costume.
You can find a Christmas ornament and realize you’ve finally found the eye you’ve been looking for.
You can use yarn from a Buy Nothing group to solve a problem you thought might require something much more complicated.
You can bend a piece of floral wire until suddenly everything sits where it needs to.
And somewhere along the way, you realize:
I made this.
Not because I knew exactly what I was doing.
But because I was willing to keep figuring it out.
And maybe that’s the art of figuring it out.
Sometimes the path doesn’t appear until you start walking.
Quick Recap
Want to try making your own?
Crown: EVA foam + black yarn lacing + floral wire + hot glue + decorative black shards
Eye: Clear, fillable plastic Christmas ornament + 400-grit sandpaper + white primer + acrylic paint + high-gloss sealer + warm fairy lights
The important part: Make sure your ornament opens from the bottom! Some fillable ornaments don’t have an opening that works for adding lights inside.
The rest? A little trial and error, a lot of adjusting, and figuring it out as you go. 😉